There’s something exciting about trying a technique in the kitchen for the very first time, and for me, that technique was salted caramel. I’ve made plenty of chocolate cakes before, but I had never actually cooked caramel from scratch — melting sugar, watching the colour change, adding cream, hoping it doesn’t seize up on me. So when I decided to combine my go-to chocolate cake base with a homemade salted caramel and a rich dark chocolate ganache, I knew I was in for a learning curve.
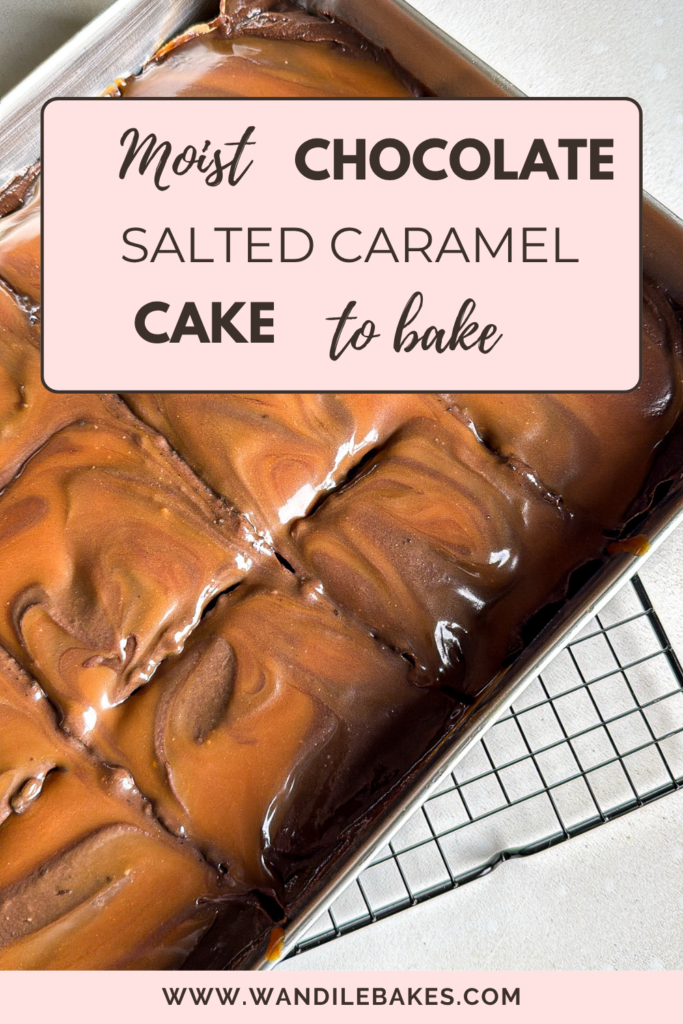
I’ll be honest with you: after all that effort, salted caramel just isn’t my cup of tea. It’s not that anything went wrong — the caramel came out glossy, buttery, and perfectly balanced between sweet and salty. It’s simply a flavour preference thing. My sister, on the other hand, loved it so much that if she hadn’t enjoyed it, I probably wouldn’t even be sharing this recipe with you today.
And that’s actually something worth talking about. When you bake as often as I do, it’s easy to forget that not every recipe is going to be your personal favourite — and that doesn’t mean the recipe “came out wrong.” It just means we all have different palates. Some of you are going to make this cake, and it’ll become your new obsession. Others might feel the way I do. Both reactions are valid, and honestly, that’s the fun of baking: discovering what you love through trial and error.
Salted Caramel Chocolate Cake Tutorial
Why This Cake Uses Oil and Amasi Instead of Butter
For the cake base itself, I’ve never tried baking with butter. I always find using oil better. Oil keeps a chocolate cake incredibly moist for days, without the cake ever feeling dense or dry — something that can happen easily with butter-based chocolate cakes once they’ve cooled.
I also added amasi (fermented milk) to the batter. If you’ve followed my blog for a while, you’ll know amasi shows up in a lot of my bakes because of the moisture and subtle tang it brings, plus how it reacts beautifully with the baking soda to give a soft, tender crumb. Combined with hot coffee, which intensifies the chocolate flavour without making the cake taste like coffee, this batter turns out rich, dark, and incredibly moist.
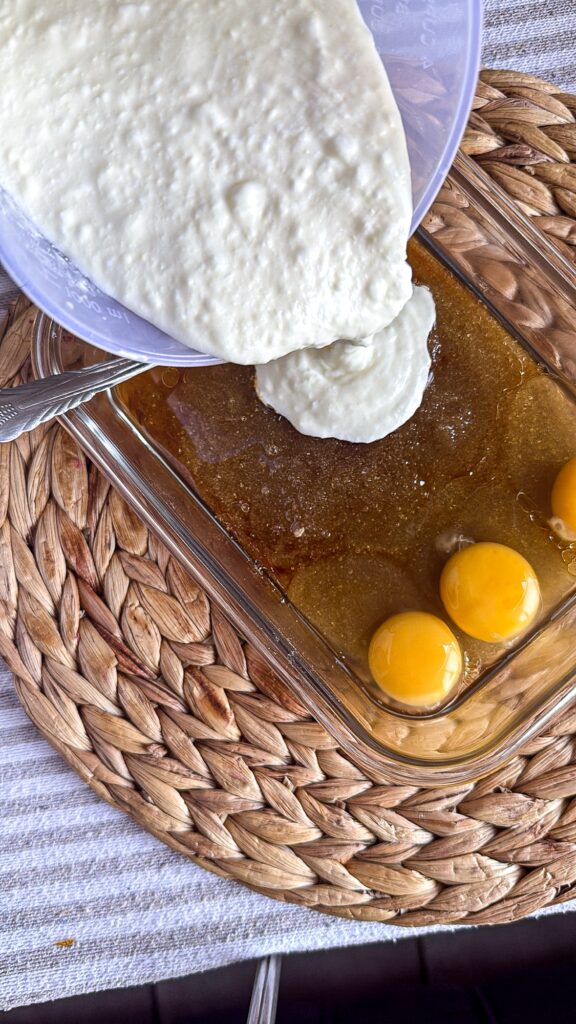
If you’ve followed my scone recipes before, you’ll know amasi is a bit of a signature ingredient in my kitchen — it just works.
The Recipe (What you’ll need for salted caramel chocolate cake)
For the Chocolate Cake
- 2 cups cake flour
- 1 tsp baking soda
- 1 tsp baking powder
- 1/2 tsp salt
- 1 cup cocoa powder
- 1 cup vegetable oil
- 1½ cups amasi
- 1½ cups brown sugar
- 3 large eggs
- 1 tsp vanilla extract
- 1 tbsp white vinegar
- 1 cup hot coffee
Method:
- Preheat your oven and prepare two cake tins by greasing and lining them.
- In a large bowl, sift together the cake flour, baking soda, baking powder, salt, and cocoa powder.
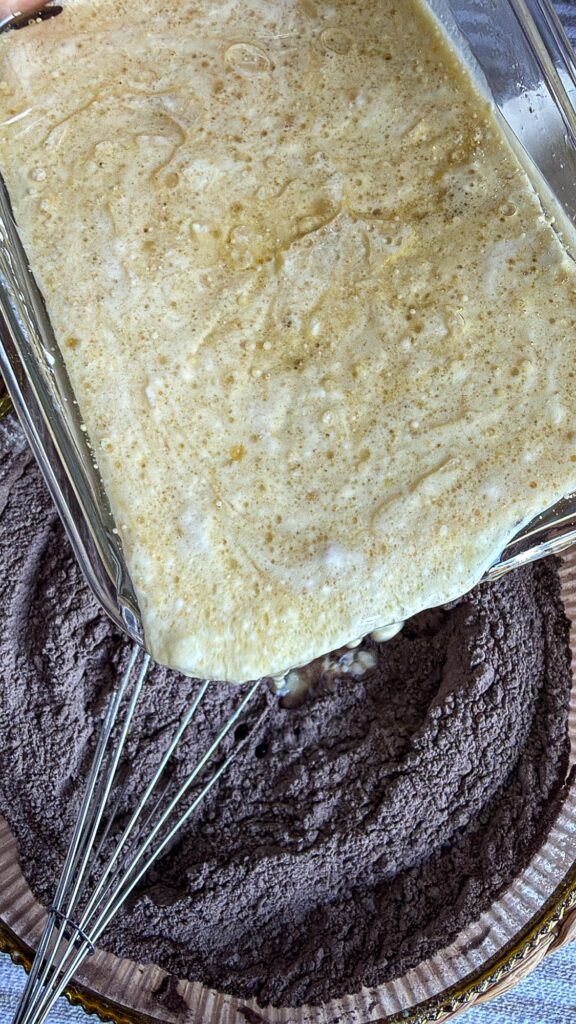
- In a separate bowl, whisk the oil, amasi, brown sugar, eggs, vanilla extract, and vinegar together until well combined.
- Gradually fold the wet ingredients into the dry ingredients, mixing until just combined — don’t overmix.
- Slowly stir in the hot coffee. The batter will be thin, and that’s exactly what you want for a moist cake.
- Divide the batter evenly between your prepared tins and bake.
For the Salted Caramel
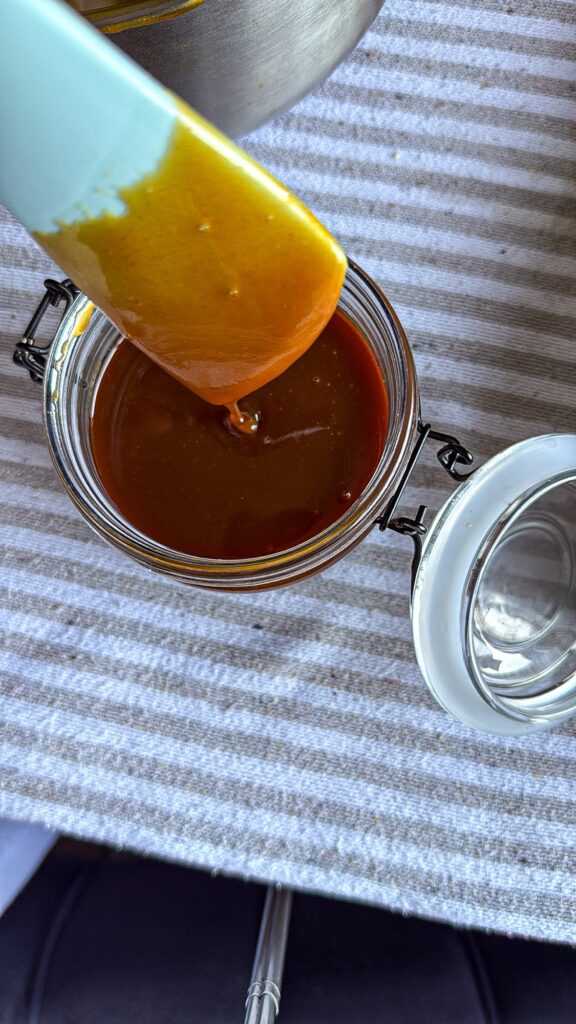
- 1 cup sugar
- 1 cup fresh cream (added after removing from heat)
- 100g butter, room temperature
- 1 tsp salt
- 1 tsp vanilla essence
Method:
- Add the sugar to a saucepan over medium heat. Don’t stir constantly — swirl the pan occasionally and let the sugar melt evenly until it turns a deep amber colour.
- Remove the pan from the heat immediately and carefully whisk in the fresh cream. It will bubble up rapidly, so take care and keep whisking until smooth.
- Add the room-temperature butter and whisk until fully incorporated and glossy.
- Stir in the salt and vanilla essence.
- Allow the caramel to cool slightly before using — it will thicken as it cools.
For the Chocolate Ganache
- 250g dark chocolate
- 250ml fresh cream
- 50g butter
Method:
- Heat the cream until just simmering (not boiling).
- Pour the hot cream over the chopped dark chocolate and let it sit for a minute before stirring until smooth.
- Add the butter and stir until fully melted and glossy.
- Let the ganache cool and thicken slightly before pouring or spreading onto the cake.
The Trick to Getting a Perfectly Flat Cake
One of the most common baking frustrations is ending up with a domed cake that you then have to carve down, wasting cake and creating uneven layers. My trick for this recipe is simple: bake low and slow. Set your oven between 130°C and 160°C rather than the usual 180°C most recipes call for.
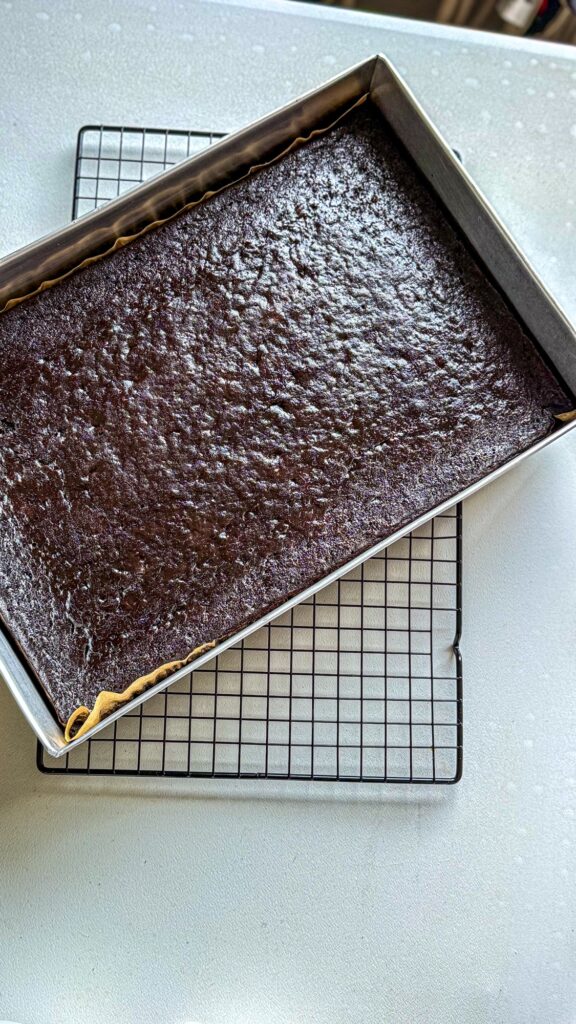
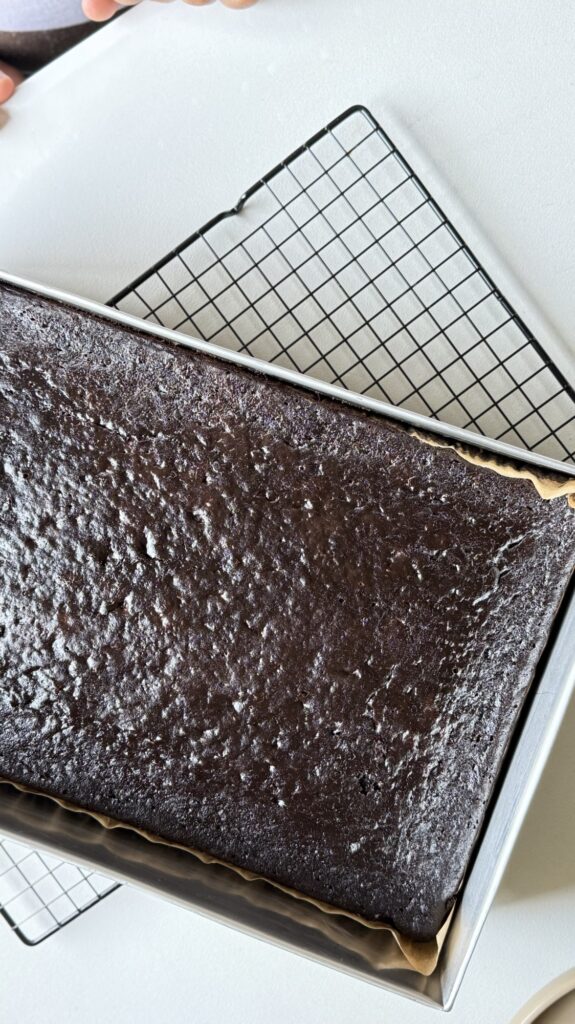
Baking at a lower temperature means the cake rises more gently and evenly, rather than shooting up in the middle while the edges are still setting. This gives you a much flatter top, which makes stacking and frosting your layers so much easier — and it means less wasted cake trimmings. The trade-off is a slightly longer bake time, so keep an eye on it and test with a skewer until it comes out clean.
Bake until a skewer inserted into the centre comes out clean or with a few moist crumbs, checking from around the 35–40 minute mark, since baking times will vary with your oven and pan size.
Assembling the Cake
Because this cake is best made a day ahead, here’s how I actually put it together:
Day 1: Bake the sheet cake and let it cool completely. Make the salted caramel and the ganache on the same day, and let both cool to room temperature. Once the cake is fully cooled, wrap it in cling wrap to lock in moisture overnight — this step matters more than people think, since an uncovered cake will dry out on the surface even in a cool kitchen.
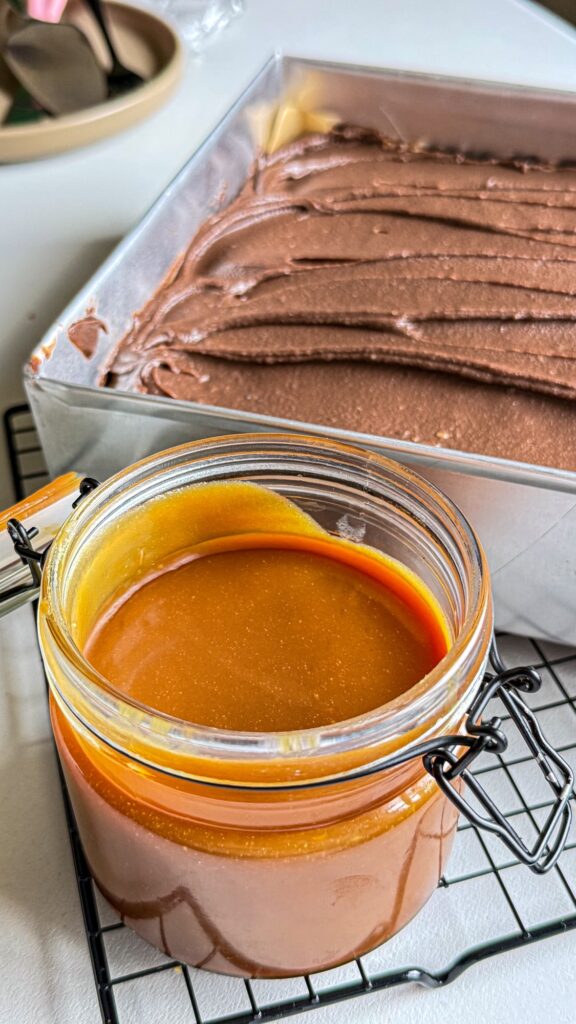
Day 2: Unwrap the cake, cover with the chocolate ganache, and top off with salted caramel. Baking the day before and assembling the next day gives the cake time to fully set and firm up, which makes it much easier to slice cleanly and handle without crumbling — plus the flavours have more time to settle together.
What I’d Do Differently Next Time
Even though salted caramel isn’t quite my thing, I’m not done experimenting with it. Next time, I want to try a whipped salted caramel instead of the traditional pourable version. Whipping the caramel with a bit of extra butter or cream should give it a lighter, mousse-like texture that might change my whole opinion on it — plus it would pipe beautifully between layers or on top as a frosting. I’ll definitely share how that turns out.
Prefer Chocolate Cake Without the Caramel?
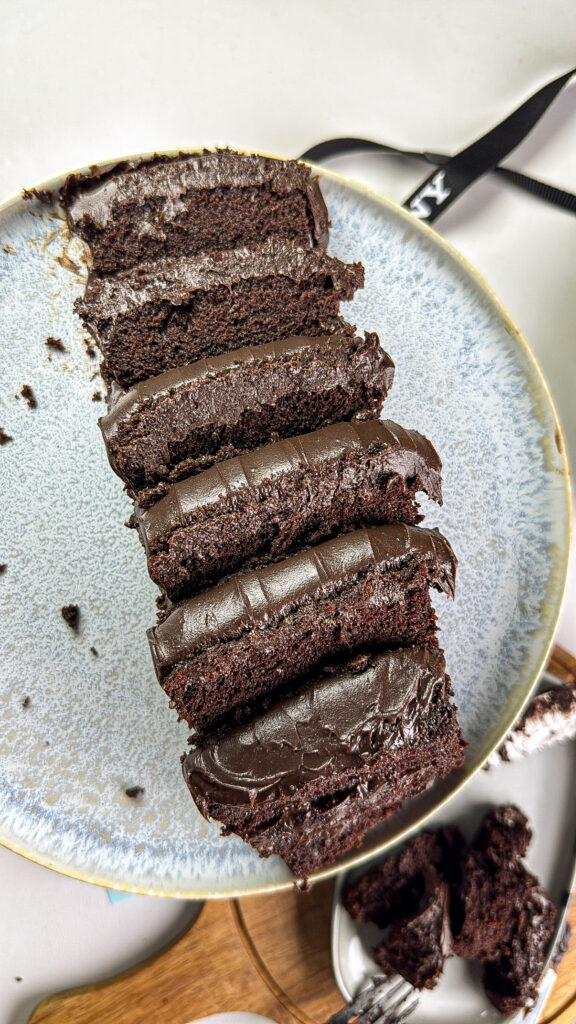
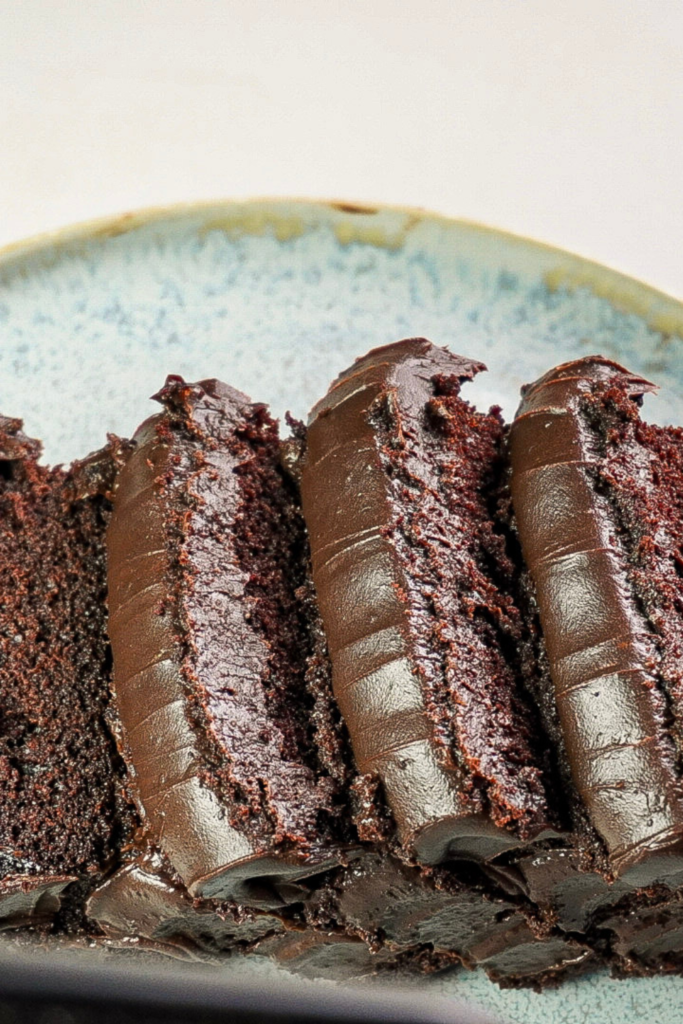
If salted caramel isn’t for you either, don’t worry — I’ve got you covered. Check out my other chocolate cake recipe on the blog, which uses the same moist oil-and-amasi base but skips the caramel entirely for those who just want a classic, rich chocolate cake.
Frequently Asked Questions about Salted caramel chocolate cake
Yes, salted caramel keeps well in an airtight container in the fridge for up to two weeks. Just warm it slightly before using so it’s easier to spread.
This usually happens if the cream is cold or added too slowly. Make sure your cream is at room temperature and pour it in steadily while whisking continuously.
If you don’t have amasi, plain buttermilk or natural yoghurt thinned with a little milk can work as a substitute.
Hot coffee doesn’t make the cake taste like coffee — it actually deepens and intensifies the chocolate flavour, giving the cake a richer taste overall.
Oven temperatures can vary, so it helps to check your oven’s actual temperature with a separate oven thermometer. Also, make sure your oven rack is centred, and you’re not opening the door too early in the bake.
Not Every Recipe Has to Be Your Favourite
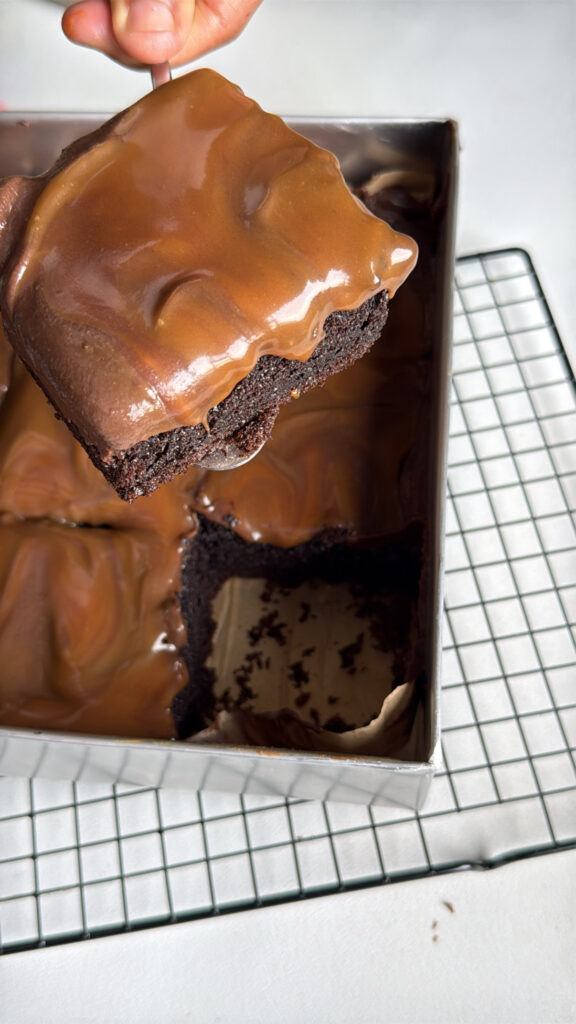
If there’s one thing I want you to take from this post, it’s this: baking a recipe that isn’t your personal favourite doesn’t mean it went wrong. This cake is rich, well-balanced, and exactly what a salted caramel chocolate cake should be — it just turns out salted caramel isn’t my flavour of choice, and that’s okay. My sister’s enjoyment of it was reason enough to share it here, and maybe it’ll be exactly your cup of tea too.
If you’re after a chocolate cake without the salted caramel element, check out my other chocolate cake recipe on the blog — same rich, moist base, without the caramel filling.
Let’s Connect
If you try this recipe, I’d love to see how it turns out! Come find me and share your bakes on my social platforms — YouTube, Instagram, TikTok, and Pinterest. I’m always sharing behind-the-scenes baking moments, oven tips, and new recipes as I test them, so don’t be a stranger.
Happy baking!
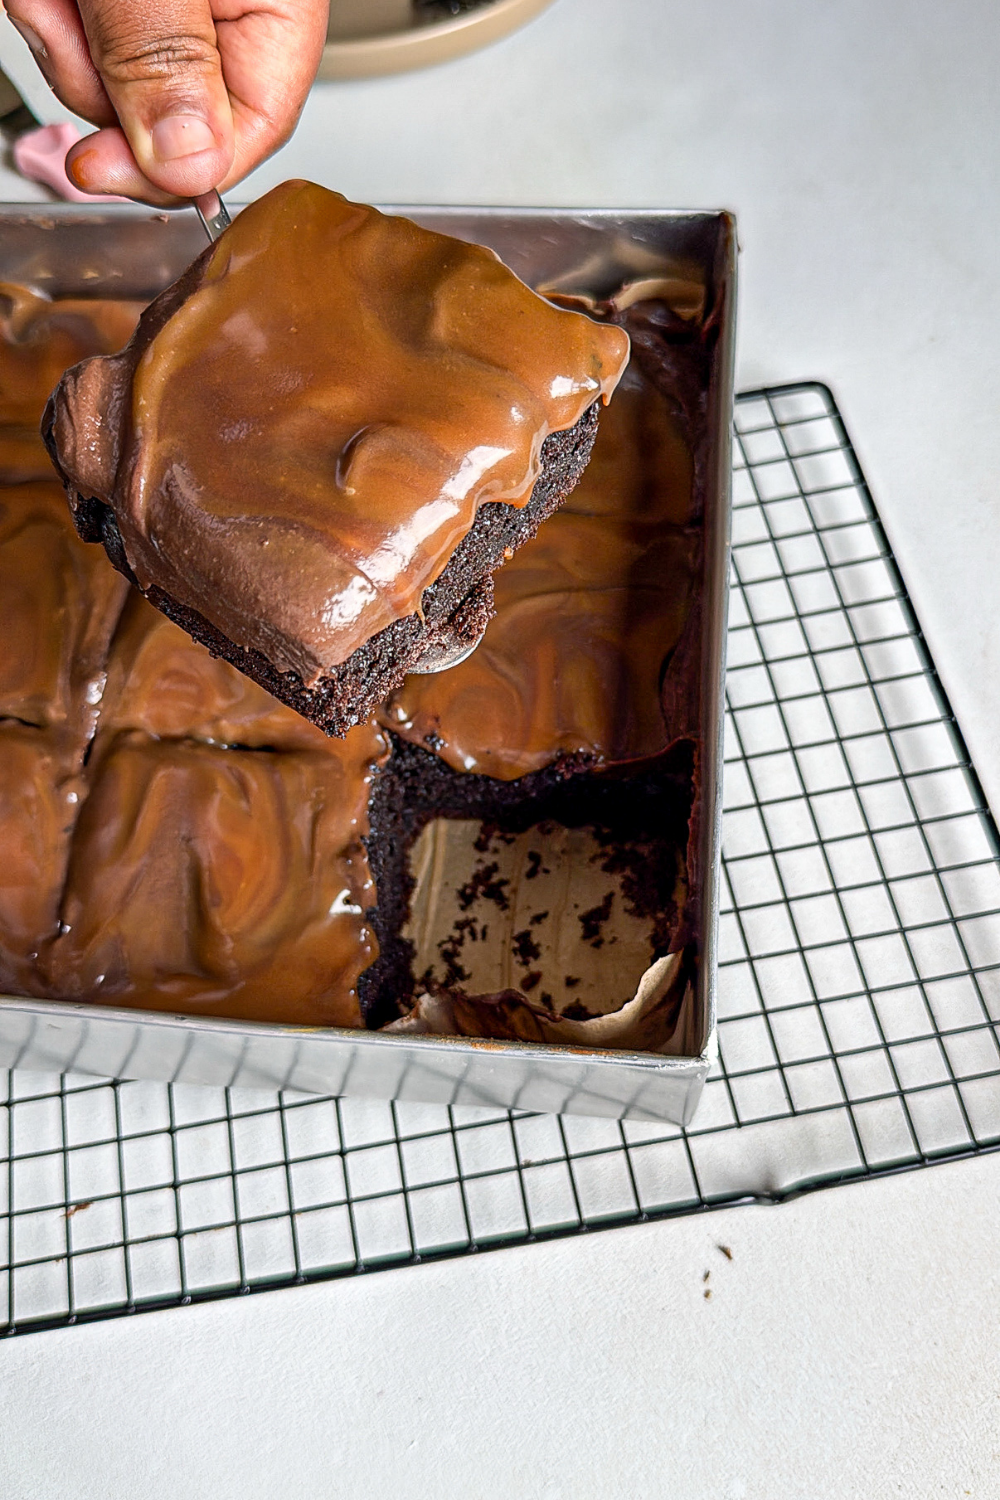

Salted Caramel Chocolate Cake Recipe
Ingredients
Equipment
Method
- Preheat your oven to 160 °C (320 °F), and line your sheet cake pan
- Whisk together the cake flour, baking soda, baking powder, salt, and cocoa powder in a large bowl — this gets rid of any cocoa lumps and makes sure the raising agents are evenly distributed.
- In a separate bowl, whisk the vegetable oil, amasi, brown sugar, eggs, and vanilla extract together until smooth. Add the white vinegar (this reacts with the baking soda for extra lift and also helps activate the amasi’s tenderising effect).
- Pour the wet ingredients into the dry ingredients and mix until just combined. Finally, stir in the hot coffee. The batter will look thin — that’s completely normal, and it’s actually what gives this cake its soft, moist crumb. Coffee doesn’t make the cake taste like coffee; it just deepens the chocolate flavour.
- Pour the batter into a lined and greased sheet pan.
- Bake for 45 minutes, use a skewer to check if your cake is ready or not.
- Add the sugar to a saucepan over medium heat and let it melt, swirling the pan occasionally rather than stirring, until it turns a deep amber colour. Keep a close eye on it here — sugar can go from perfectly caramelised to burnt very quickly.
- Once it’s amber, remove the pan from the heat and carefully whisk in the fresh cream. It will bubble up dramatically, so take your time and whisk continuously until smooth. Add the room-temperature butter and whisk until fully incorporated, then stir in the salt and vanilla essence. Let it cool before using — it will thicken as it cools.
- Heat the fresh cream until just below boiling (small bubbles forming at the edges, not a rolling boil).
- Pour it over the dark chocolate in a heatproof bowl and let it sit for a minute or two to soften the chocolate before stirring.
- Stir in the butter until the ganache is glossy and completely smooth.
- Let it cool and thicken slightly before using — you want it pourable but not runny.
Video
Discover more from WandileBakes
Subscribe to get the latest posts sent to your email.