
If you have been searching for a red velvet loaf recipe that is soft, moist and not overly sweet, this post is for you. Red velvet is one of those bakes that looks effortless but behaves like a diva. Today I’m sharing my red velvet loaf, and I’m going to be honest about the journey it took to get here, because it was not a smooth one.
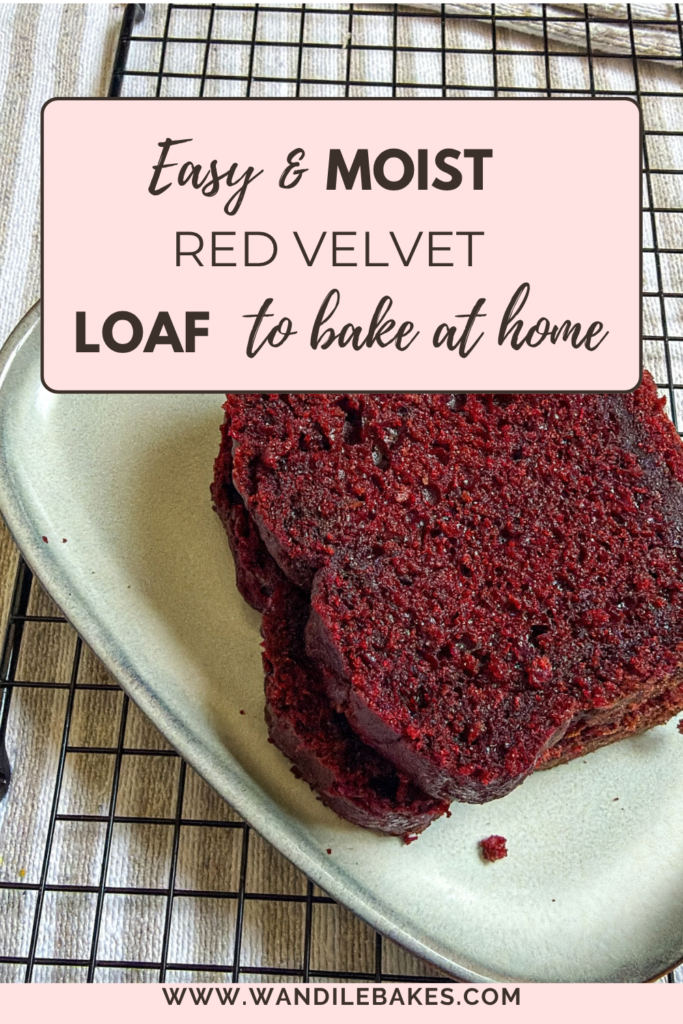
For the last three months, I have been trying to get my red velvet cake sponge right. Let me be clear: the problem was never the recipe. The recipe is perfect. It is balanced, it does not have too much sugar, and it gives you the tender, velvety crumb that red velvet is famous for. The problem was my oven, which has been quietly compromising my bakes, especially my red velvet.
My Red Velvet Journey: Three Months of Dense Bakes
I have lost count of how many times I made this loaf only for it to come out dense. Same recipe, same ingredients, same method, different results. That is the most frustrating part of baking: you know the recipe works, but the outcome keeps letting you down.
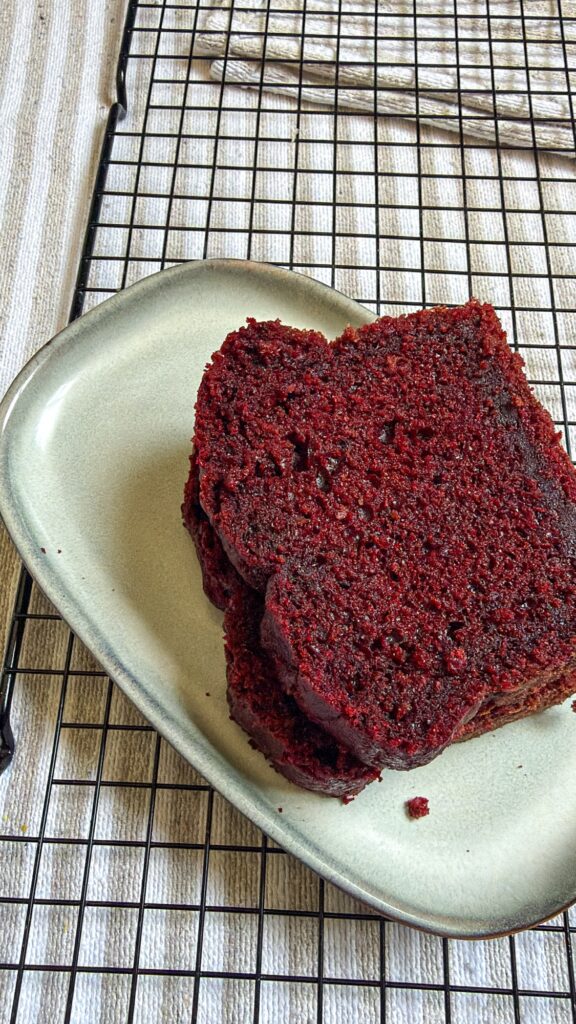
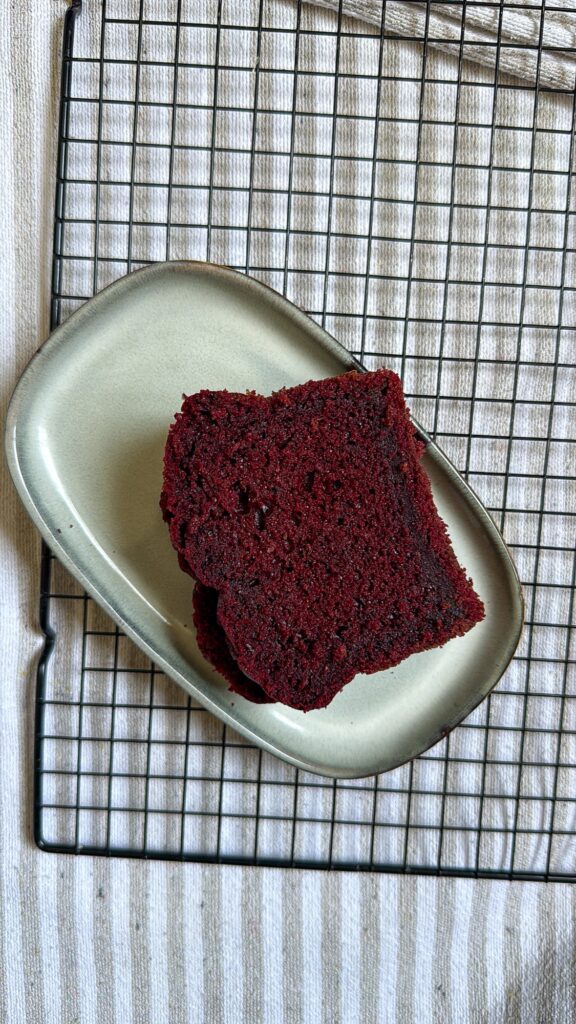
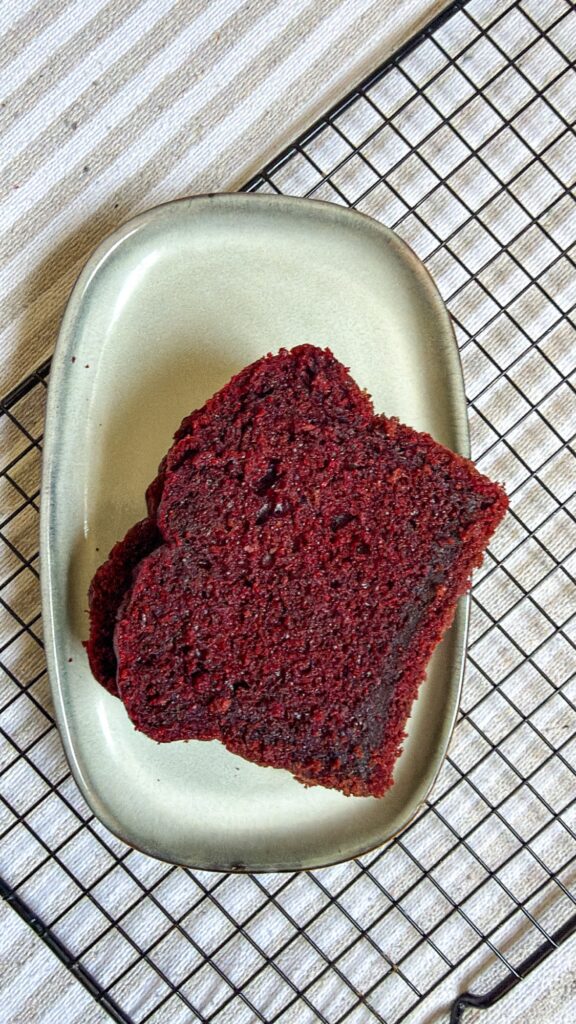
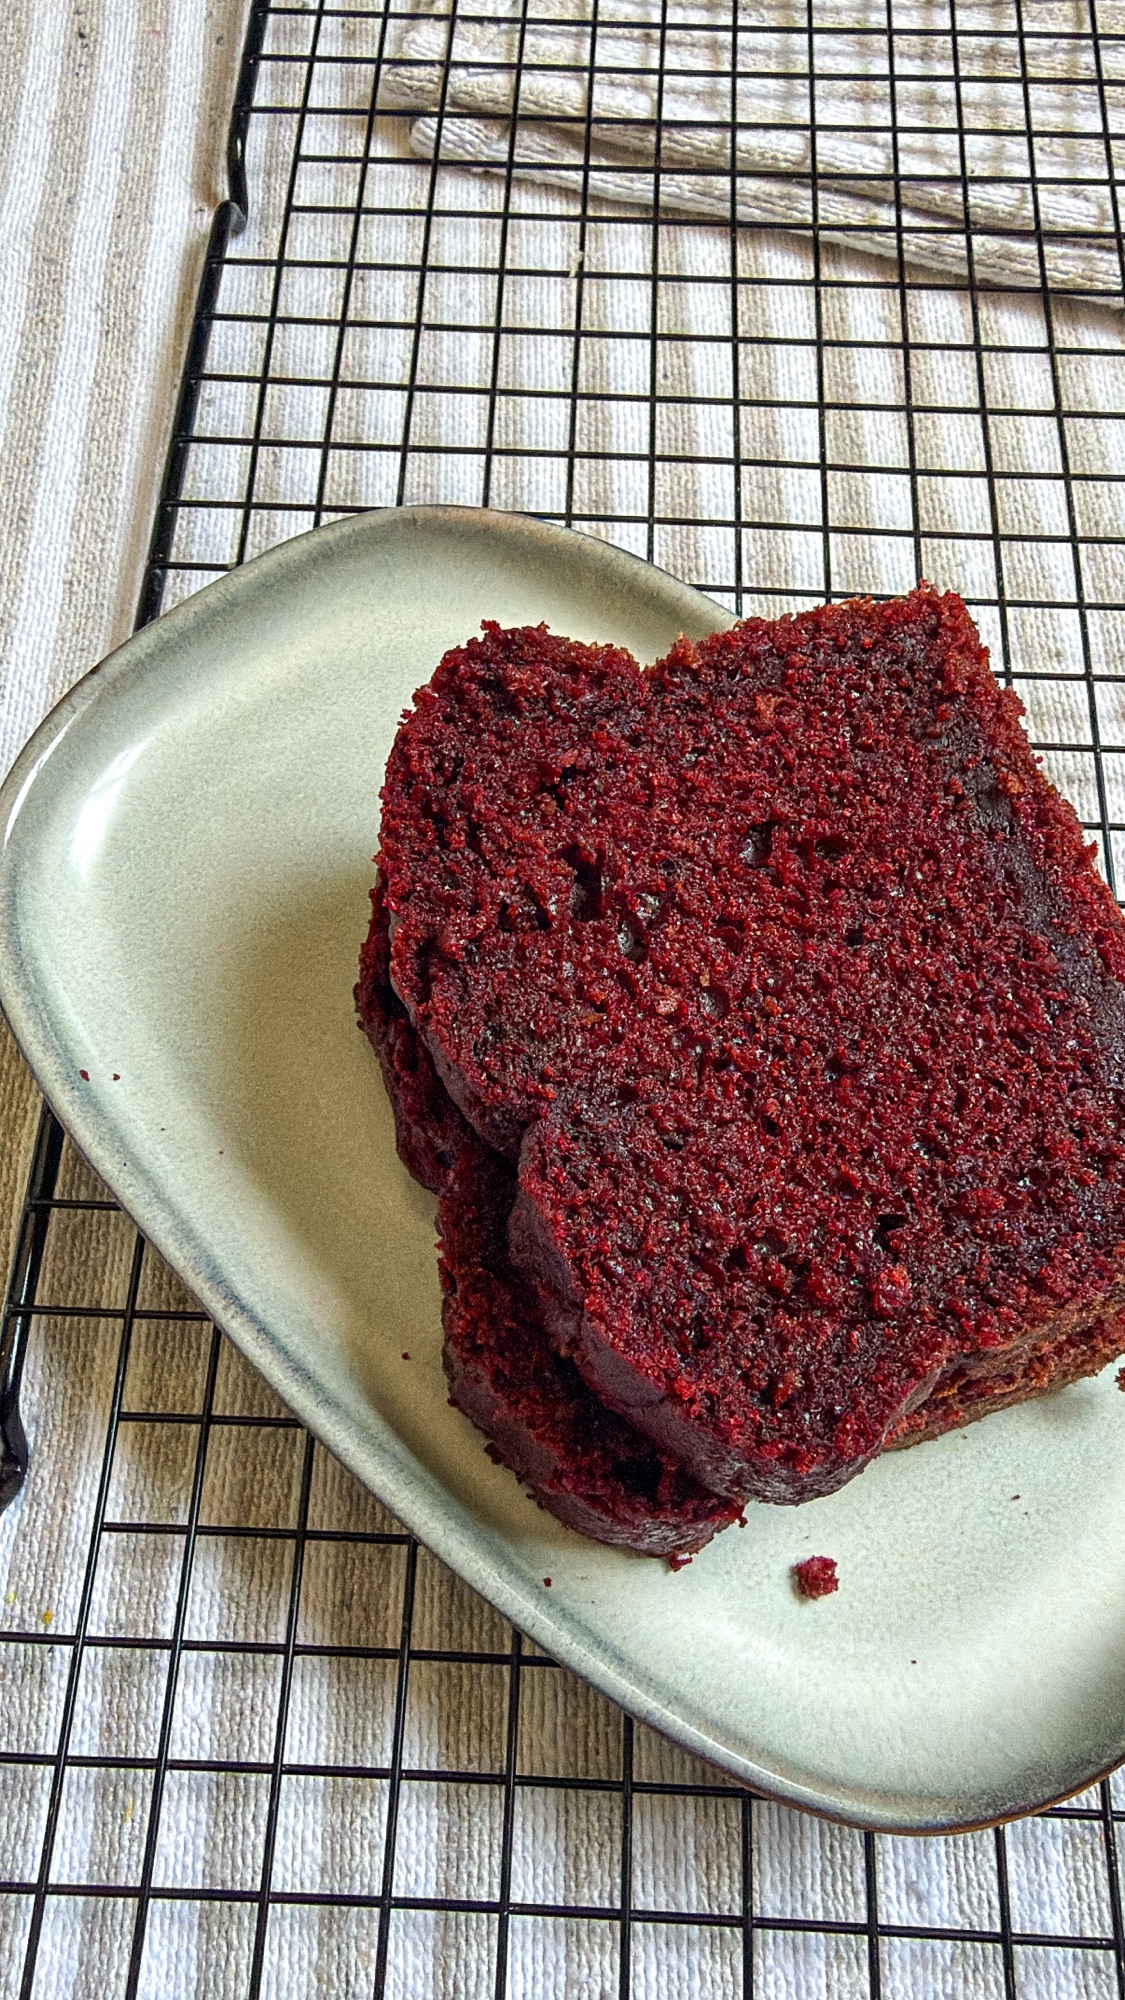
If you look at the photo, you will see that the slice at the bottom is a little dense. That is a perfect picture of what I have been dealing with. The rest of the loaf came out perfect, soft and moist with a lovely crumb, but that one slice shows the struggle. After so many failed attempts, I thought, let me just share this one. Baking is not always picture-perfect, and I would rather show you the real thing than pretend I get it right every single time.
If you are a home baker who has ever blamed yourself for a bake that went wrong, hear this: sometimes it really is the oven, not you.
Why This Red Velvet Loaf Recipe Works
This is a red velvet loaf recipe I genuinely trust. It is not too sweet, which matters because red velvet is traditionally paired with cream cheese frosting, and you want the cake to balance that tang rather than compete with it. The crumb is soft, the flavour is gentle with a hint of chocolate and a slight tang, and the colour is that deep, rich red that makes people stop scrolling.
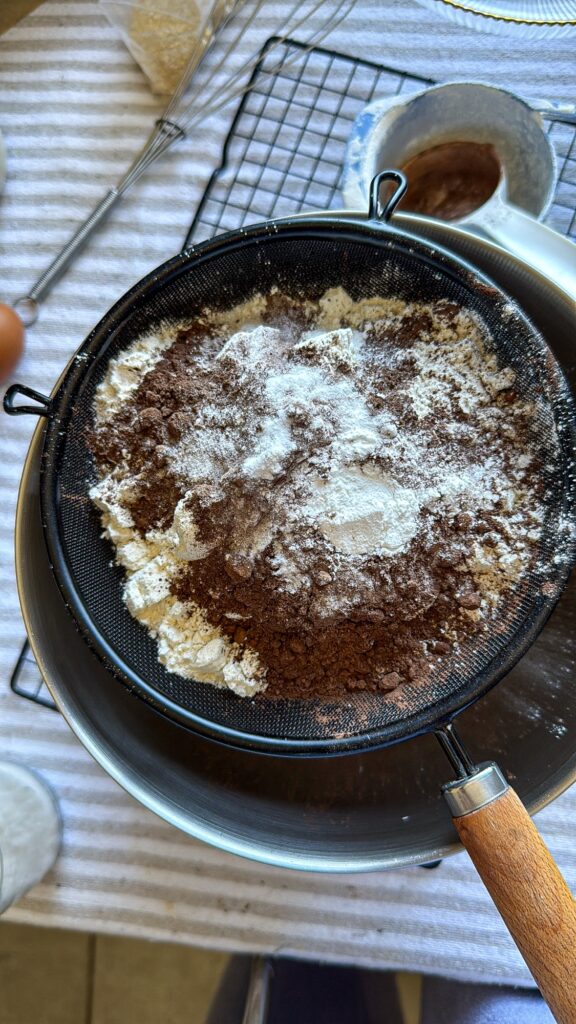
A loaf is also the friendliest format for red velvet. It slices neatly, keeps well, travels well, and you do not need layers, a turntable or mountains of frosting. Serve it plain with a cup of tea, topped with a cream cheese glaze, or stacked on a plate like mine. It delivers every time, as long as the oven cooperates.
There Is No Red Velvet Without Cocoa Powder
Here is something I feel strongly about: there is no red velvet without cocoa powder. Yes, red velvet is known for its colour, but it is not just a vanilla cake dyed red. At heart it is a cocoa cake, even though you do not need a lot of cocoa. In my recipe the amount is small, but the role it plays is huge.
Here is the science in simple terms. Natural cocoa powder is mildly acidic. Red velvet batter also contains acidic ingredients, such as buttermilk or vinegar, which react with baking soda to create lift and a tender crumb. Historically, that acidity is also what helped the reddish tones in the cake show up, which is part of how red velvet got its name.
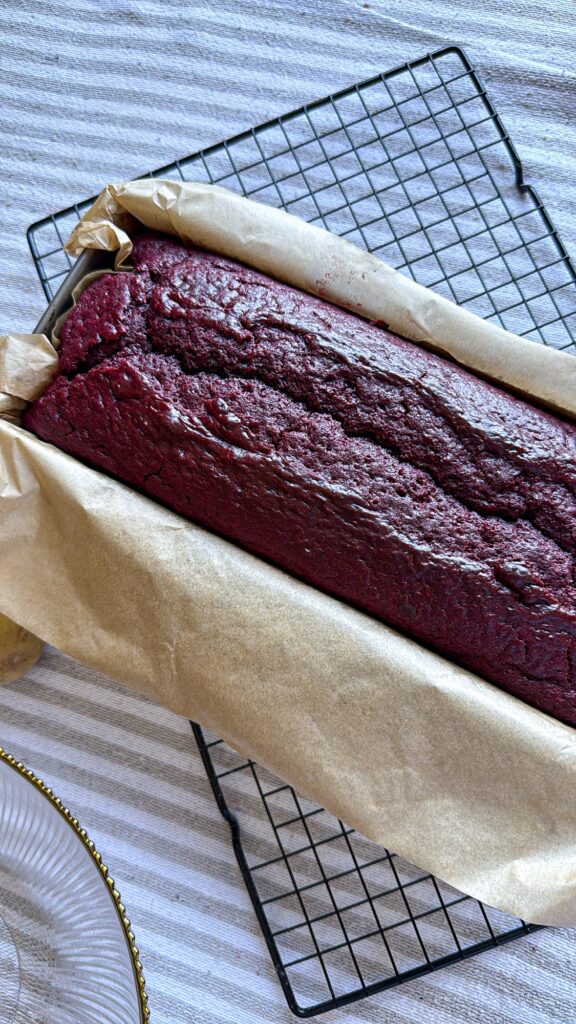
Cocoa also affects texture. It is made of fine solids that absorb moisture and help the crumb set, so it changes the structure of the sponge in a way that plain flour alone does not. Then there is flavour. A little cocoa gives red velvet its subtle, rounded, almost chocolatey depth that sets it apart from a plain vanilla cake.
Leave the cocoa out and you end up with a red-coloured vanilla sponge. It may look the part, but it will taste flat and the texture will be off. So even though you only need a small amount, please do not skip it or treat it as optional.
The Cocoa Powder I Use (and a Favour to Ask)
I use Trumps cocoa powder in my red velvet loaf. I am a lover of strong, rich, dark cocoa powder, the kind that gives you real depth even when you are only using a little. Lately, though, I have been struggling to find one that meets that standard, and I would love your help.
So here is my question: which cocoa powder are you using? Please drop the brand in the comments or message me on social media. Tell me what you love about it, how dark it is, and where you buy it. Good cocoa powder is not always easy to find, and I know there are people reading this who are in the same boat. If we share our finds, we all bake better. Your recommendation might be the one that ends my search.
Can You Use This Recipe for a Red Velvet Cake?
Yes, absolutely. This recipe can also be used to make a red velvet cake. You can bake it in round tins for a layer cake, in a square tin for a traybake, or even as cupcakes. The batter stays the same. What changes is how you bake it.
Here is the important part: red velvet is a sensitive cake. It does not need too much heat. High heat dries it out, forms a hard crust, and can leave you with a dense, heavy centre. If you are using this recipe for a cake, I recommend a low temperature, between 140°C and 160°C, and baking it for longer rather than blasting it. Slow and steady gives the sponge time to rise evenly and set gently, so you get a soft, moist crumb instead of a tough one. Patience pays off with red velvet.
How My Oven Confused Me
Here is where the real story is. My oven only has a bottom element for bake. All the heat comes from underneath and nothing comes from the top. For many bakes that is manageable, but for a delicate cake like red velvet it is a problem. The bottom of the bake gets more heat than the top, the loaf takes much longer to cook through, and the result can be uneven. That is exactly why you can see a slightly dense slice at the bottom of my photo.
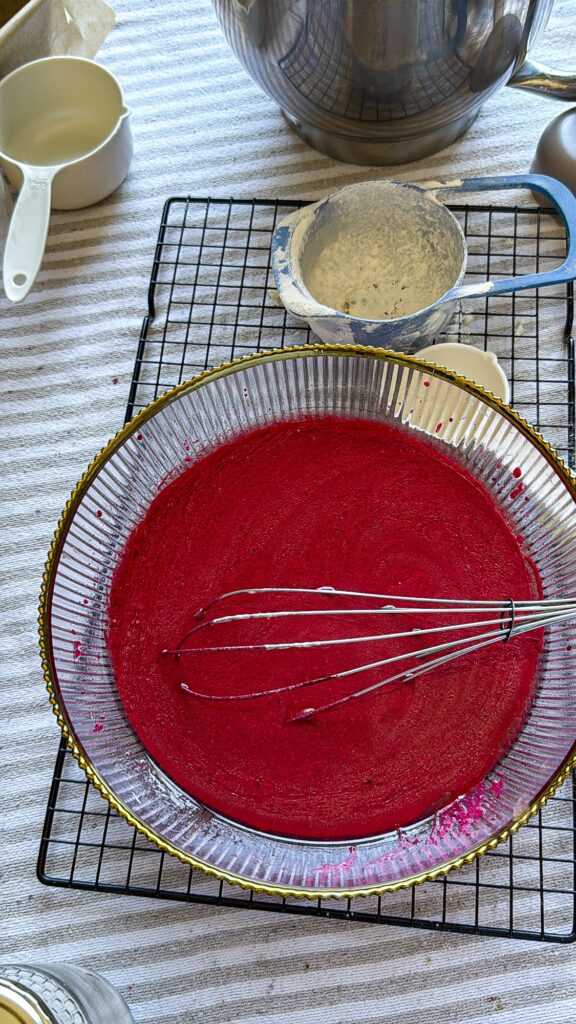
It also confused me about doneness. With no top heat, the loaf did not colour or set the way I expected, so I could not tell when it was ready. I ended up switching on the grill option to make sure it was really done. That extra bit of top heat helped me confirm the loaf had properly set all the way through.
If you have a similar oven, here are a few things worth trying:
- Use a skewer or toothpick in the centre. It should come out clean or with a few moist crumbs, not wet batter.
- Check the loaf by touch. The top should spring back gently when pressed.
- Use an oven thermometer. Many home ovens run hotter or cooler than the dial says.
- Try the grill briefly near the end, watching closely, if the top is not setting.
- Cover the top loosely with foil if it starts to brown too fast while the inside finishes.
Tips for a Softer Red Velvet Loaf
Whatever oven you have, a few habits help red velvet turn out better:
- Do not overmix. Mix until the batter just comes together. Overmixing develops gluten and gives you a dense, rubbery crumb.
- Use room-temperature ingredients. They blend more evenly and trap air better.
- Measure carefully. Red velvet is not forgiving with too much flour or too little liquid.
- Let the loaf cool properly. Give it a few minutes in the tin, then move it to a wire rack so the base does not steam and turn soggy.
- Know your oven. Learning how your oven behaves is as important as following the recipe.
Frequently Asked Questions
The most common causes are overmixing, too much flour, and uneven oven heat. In my case, it was the oven, not the recipe.
Yes. A small amount gives red velvet its flavour, its structure and the chemistry that makes the crumb tender.
I would not. Red velvet is sensitive to heat, so a lower temperature and a longer bake gives a better result.
Yes. Use the same batter in cake tins and bake between 140°C and 160°C for longer.
Thank you for staying this far!
This red velvet loaf took me three months, a lot of dense attempts and plenty of frustration. But it also reminded me that a good recipe can still fail you when your equipment is working against you, and that sharing the honest version of a bake is worth more than waiting for a flawless one. Even with one slightly dense slice, this loaf is soft, flavourful and exactly what I wanted red velvet to be.
Try other recipes:
THE Moist Chocolate Cake with Chocolate Ganache – WandileBakes
Blueberry & Orange Poppy Seed Loaf – WandileBakes
Let’s Connect
If you try this red velvet loaf, I would love to hear how it turns out. Tell me about your oven struggles, and do not forget to share your favourite cocoa powder with me. Follow me for more bakes:
- TikTok: @wandilebakes
- Instagram: @Wandilebakes
- YouTube: @wandilebakes
- Pinterest: @wandilebakes
Let’s bake together.

Red Velvet Loaf
Ingredients
Equipment
Method
- Prepare: Preheat your oven to 160°C. Grease the loaf tin and line it with baking paper.
- Mix the dry ingredients: Sift the cake flour, baking soda, baking powder, cocoa powder and salt into a medium bowl. Whisk to combine.
- Mix the wet ingredients: In a large bowl, whisk the eggs and brown sugar until combined. Add the oil, amasi (or buttermilk), vinegar and red velvet colouring. Whisk until smooth and evenly coloured.
- Combine: Add the dry ingredients to the wet ingredients and fold gently until just combined. Do not overmix.
- Add the coffee: Pour in the hot coffee and stir gently until the batter is smooth. The batter will be quite thin.
- Bake: Pour the batter into the tin and bake for about 50 to 60 minutes. Check with a skewer in the centre. It should come out clean or with a few moist crumbs.
- Cool: Leave the loaf in the tin for 10 minutes, then move it to a wire rack to cool completely before slicing.
Discover more from WandileBakes
Subscribe to get the latest posts sent to your email.