
Hi guys, I hope you are good… I am good myself, and today I’m sharing something that is not a cake, a muffin, or a scone. It’s pizza!
Sometimes you want a treat without spending hours in the kitchen, and a good frozen pizza is a lifesaver. But I’ll be honest: even a good store-bought pizza can be made so much better with one simple change. More cheese. Not a little more. A proper blanket of it.
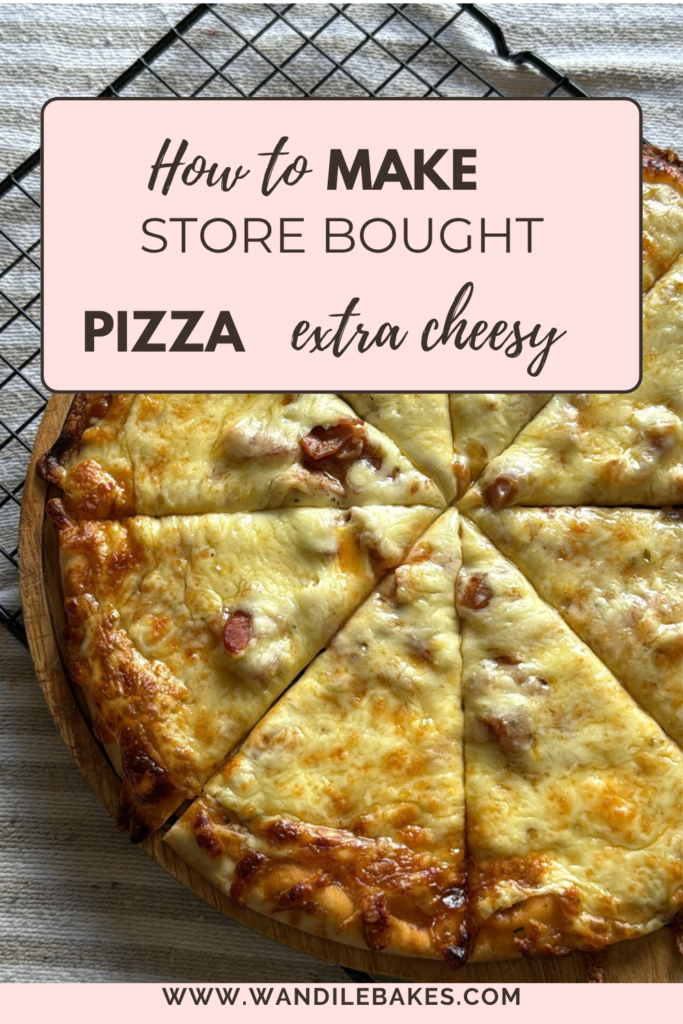
In this post I’ll walk you through how I turned a Dr. Oetker pizza into a golden, bubbly, extra cheesy pizza that honestly tasted so much nicer than I expected. I’ll also answer the questions you’re probably asking (can you add any cheese? how do you stop it going soggy? what do you bake it on?), so by the end you’ll know exactly how to do this at home.
Why I Made This Pizza (A Little Birthday Celebration)
Let me tell you how this pizza happened. I was celebrating my birthday in a small, quiet way, and since I was indoors, I didn’t have a big dinner or a fancy outing planned. I wanted a little birthday celebration snack that felt special but needed almost no effort.
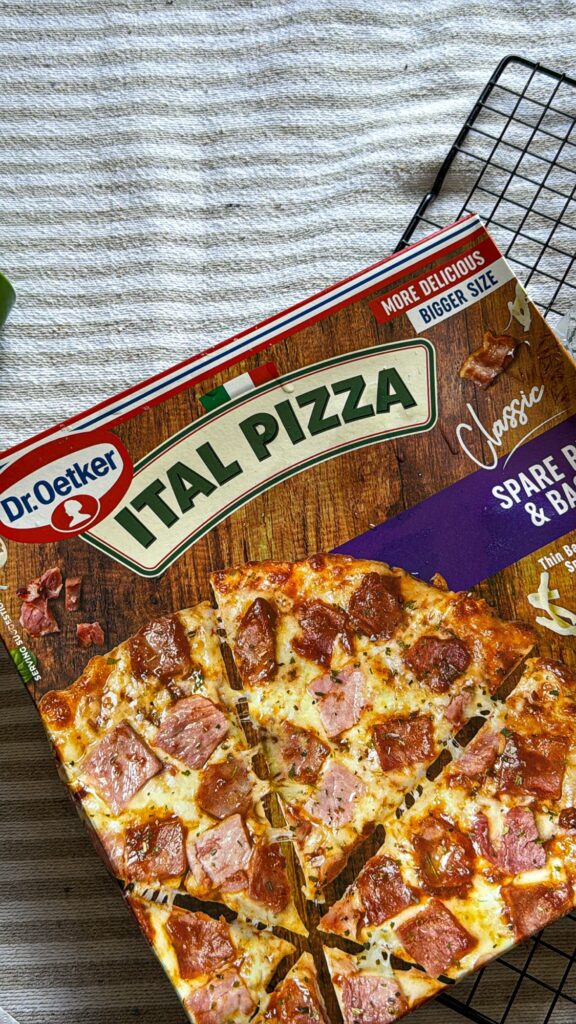
A Dr. Oetker pizza was the perfect starting point. It’s convenient, it’s tasty, and it was already in my freezer. But because it was my birthday and I wanted it to feel like a treat, I decided to customize it. And what makes a pizza feel more like a celebration than extra cheese?
It turned out so well that I knew I had to share it with you.
What You Need for This Extra Cheesy Pizza
The beauty of this hack is that you only need a few things:
- 1 Dr. Oetker pizza [Mine was Spare Ribs and Bacon Flavour]
- A generous handful (or two!) of grated mozzarella cheese
- A baking tray (more on this below)
- Optional: any extra cheese you love, plus herbs or toppings
That’s it. No complicated steps, no fancy equipment.
How I Customized My Dr. Oetker Pizza (Step by Step)
Step 1: Check the Packet Instructions
Always start with the instructions on the box. Oven temperatures and baking times can vary between pizza types, so use the packet as your guide. Preheat your oven as directed.
Step 2: Prepare the Pizza
Take the pizza out of its packaging and remove any plastic or cardboard. Place it on your baking tray or directly on the oven rack, depending on what the packet says.
Step 3: Add the Mozzarella
This is where the magic happens. Grate your mozzarella and scatter it all over the top, going right to the edges. I added mozzarella cheese on top of the cheese already on the pizza, and I did not hold back. Cover those gaps so you get that beautiful, even blanket of melted cheese.
Tip: Grated mozzarella melts more evenly than torn pieces, and it gives you that stretchy, bubbly top.
Step 4: Bake
Bake the pizza following the packet instructions. Keep an eye on it near the end. You’re looking for cheese that is melted, bubbling, and golden with a few browned spots. Those toasty, caramelized edges are the best part.
Step 5: Rest, Slice, and Serve
Let the pizza rest for a minute or two before cutting. This helps the melted cheese settle so your slices hold together. Then slice it up and enjoy while it’s hot and stretchy.
Can I Use a Different Cheese? Yes, Absolutely!
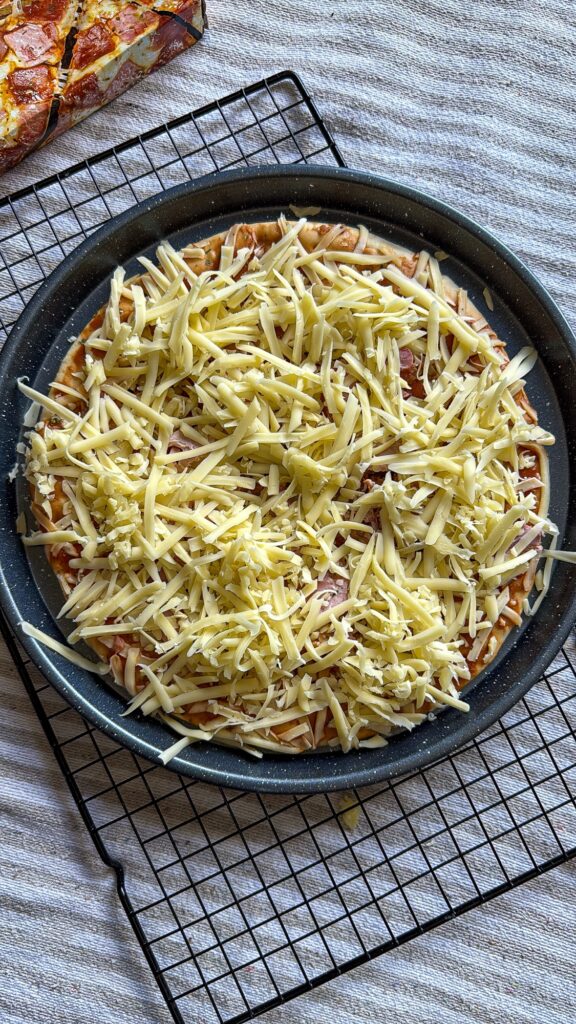
I used mozzarella, but this hack is completely flexible. You can add any cheese of your choice. Some ideas:
- Cheddar: sharper flavour and a deeper golden colour
- Gouda: creamy, slightly sweet, and melts beautifully
- Parmesan: salty and nutty, great sprinkled on top at the end
- Feta: tangy and crumbly, lovely with olives or peppers
- A cheese blend: mozzarella plus cheddar is a classic combination for flavour and stretch
Mozzarella gives you the cheese pull, and cheddar gives you the flavour. If you can’t decide, use both. Use whatever you have in your fridge or whatever you enjoy most. There are no rules here.
Frequently Asked Questions About Making This Pizza
Can you add extra cheese to a frozen pizza?
Yes! Adding extra cheese is one of the easiest ways to upgrade a frozen pizza. Just make sure you spread it evenly and bake until it’s fully melted and golden.
Will the extra cheese make the pizza soggy?
Not if you bake it properly. Don’t overload it with wet toppings, and make sure the pizza is baked until the base is firm and the cheese is bubbling. Using a baking tray also helps the base cook more evenly.
Should I thaw the pizza first?
Follow the instructions on the packet. Most frozen pizzas are designed to be baked straight from the freezer, and I baked mine according to the box.
What temperature should I bake it at?
Use the temperature printed on the packet, because it differs by pizza type and by oven. Every oven behaves differently (I’ve talked about my own oven struggles before!), so keep an eye on your pizza and adjust the time if your oven runs hot or cool.
How do I get the cheese golden and bubbly?
Use plenty of mozzarella, spread it right to the edges, and bake until you see light brown spots. If your oven has a top heat setting, a minute or two at the end can help, but watch it closely so it doesn’t burn.
Can I add more toppings?
Of course. Some good additions are mushrooms, peppers, onions, olives, chicken, bacon, or fresh herbs. Add them in a light layer so the pizza still cooks through properly.
How do I stop the cheese from sliding off?
Press the cheese down lightly with your hands before baking, and let the pizza rest for a couple of minutes after it comes out of the oven.
How do I reheat leftover pizza?
Reheat slices in the oven or an air fryer at a moderate temperature until warm and crisp. This keeps the base from going soft, which is what usually happens in the microwave.
What can I serve with it?
A simple green salad, some coleslaw, or a cold drink. For a proper snack spread, add chips or garlic bread.
Can I make pizza from scratch instead?
Yes, and I have a full recipe for that too! If you want to make the dough yourself, check out my from-scratch pizza recipe here. Frozen pizza is perfect for lazy days, and homemade is wonderful when you have the time.
Get a Perfectly Round Pizza with a Pizza Baking Tray
Here’s something I learned: if you want your pizza to come out perfectly round and evenly baked, a pizza baking tray makes a big difference. A round tray supports the base, helps it cook evenly, and keeps the shape neat, so you get those picture-perfect slices.
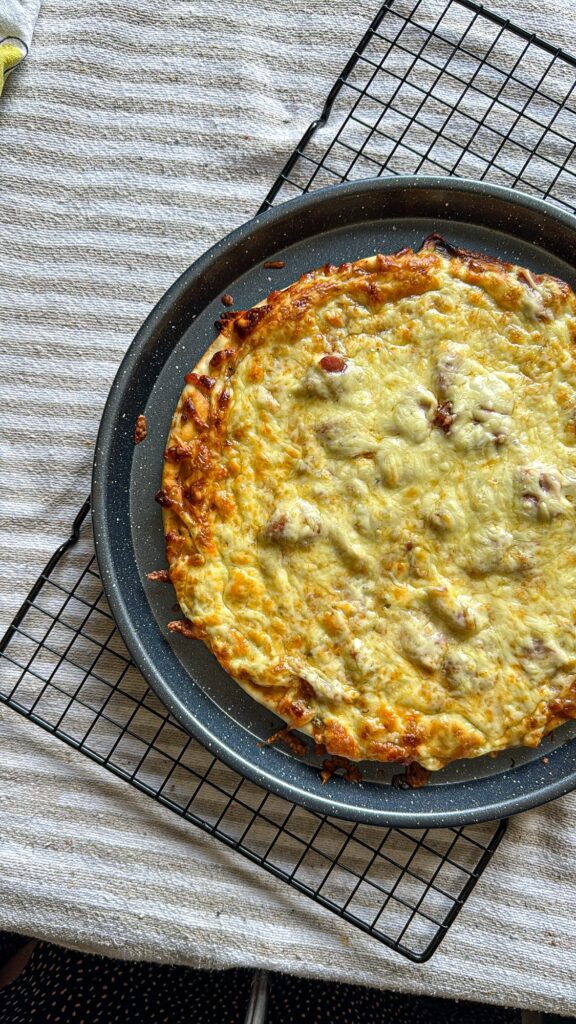
The good news is that pizza baking trays are very affordable. I found mine on Shein, and you can grab one too.
It’s an inexpensive piece of kitchen equipment that you’ll use again and again for frozen pizzas, homemade pizzas, flatbreads, and more.
My Honest Review: Was It Worth It?
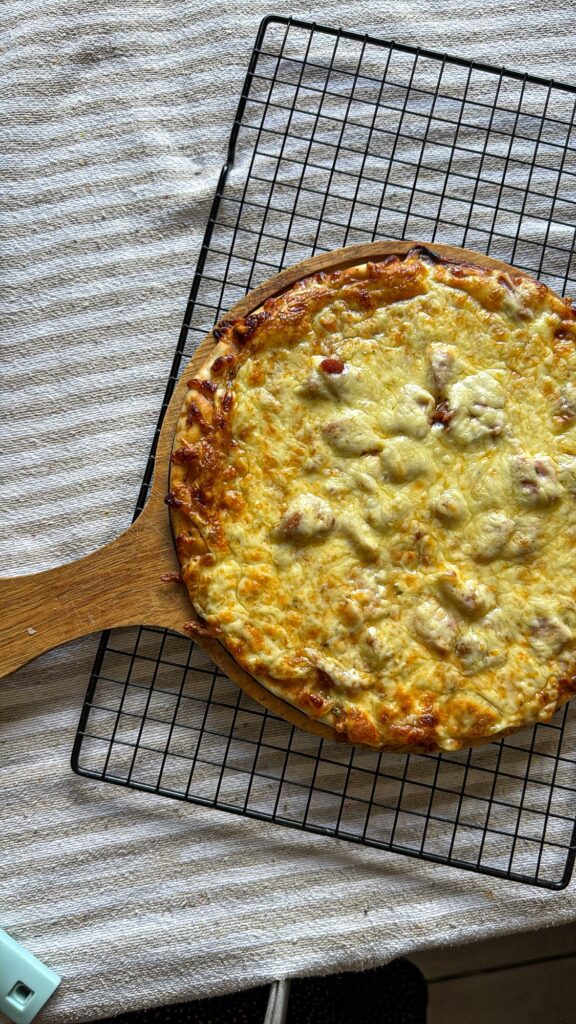
Yes! The extra mozzarella took the pizza from nice to wow. The cheese was gooey and stretchy, the top was golden and bubbly, and the edges had those crispy, toasty bits that everyone fights over. It felt like a proper treat, which was exactly what I wanted for my little birthday celebration at home.
For the tiny effort it takes, adding extra cheese is one of the best frozen pizza upgrades you can make. If you’ve been eating your frozen pizza plain, try this once and I think you’ll never go back.
Quick Recap: How to Make an Extra Cheesy Dr. Oetker Pizza
- Preheat your oven according to the packet.
- Unwrap the pizza and place it on a baking tray.
- Cover it generously with grated mozzarella (or any cheese you like).
- Bake until golden, bubbly, and melted.
- Let it rest, slice, and enjoy.
Let’s Connect and Bake Together!
If you enjoyed this post, I’d love for you to connect with me. I share baking recipes, tips, and behind-the-scenes content all the time, and your support truly means the world to me.
- Instagram: @Wandilebakes. I’m trying to grow my Instagram, so if you enjoyed this post, please follow, like, and share. It helps me more than you know!
- TikTok: @wandilebakes
- YouTube: @wandilebakes
- Pinterest: @wandilebakes
Did you try this extra cheesy pizza hack? Leave a comment below and tell me which cheese you used. And if you post your pizza on Instagram, tag me so I can see it!
And if you’re new here, welcome, I’m so glad you found me. I post content like this all the time, so stick around and let’s bake together.

Extra Cheesy Dr. Oetker Pizza (Easy Mozzarella Upgrade)
Ingredients
Equipment
Method
- Preheat your oven according to the instructions on the Dr. Oetker packet.
- Remove the pizza from its packaging, along with any plastic or cardboard, and place it on your round pizza baking tray.
- Grate your mozzarella and scatter a generous layer over the top, going right to the edges so there are no gaps.
- Press the cheese down lightly with your hands so it stays in place while baking.
- Bake following the packet time, keeping an eye on it near the end, until the cheese is melted, bubbly, and golden with a few toasty brown spots.
- Remove from the oven with oven gloves and let the pizza rest for 1 to 2 minutes so the cheese settles.
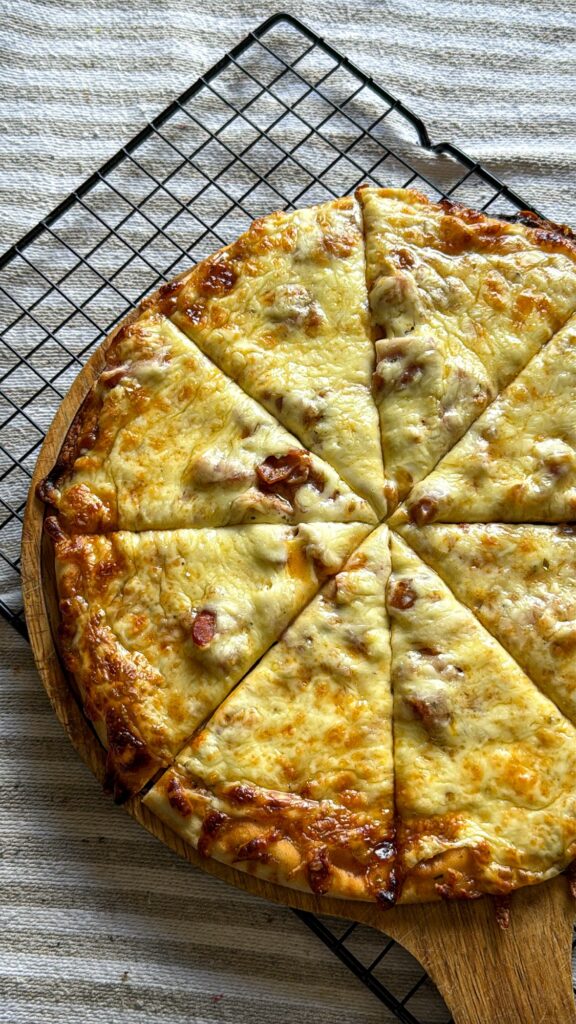
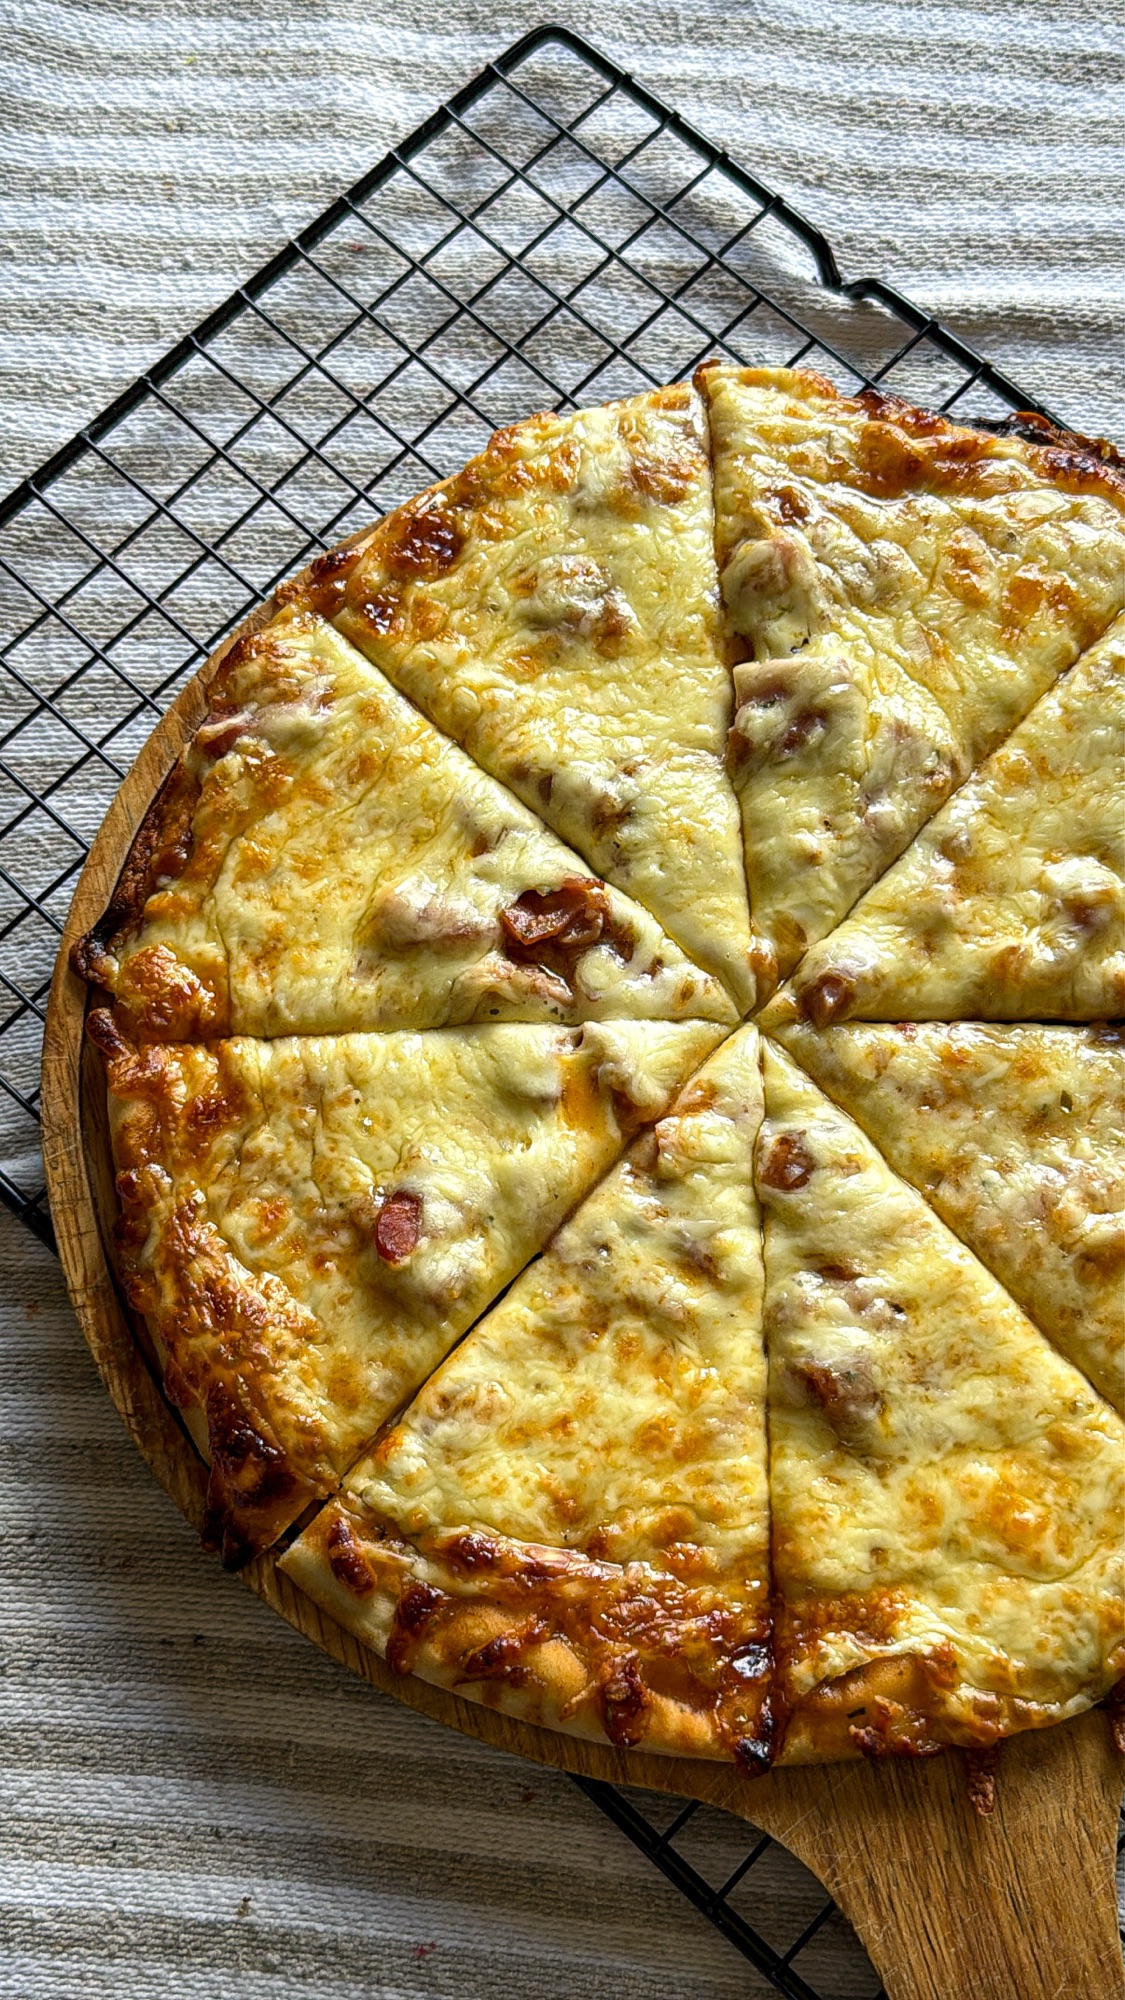
- Slice into 8 pieces, serve hot on a wooden board, and enjoy the cheese pull!
Video
Discover more from WandileBakes
Subscribe to get the latest posts sent to your email.