If you are looking for a moist chocolate cake recipe that is easy to make and stays soft for days, this recipe is one I come back to often. It uses simple ingredients, comes together quickly, and produces a rich chocolate flavor without being overly sweet.
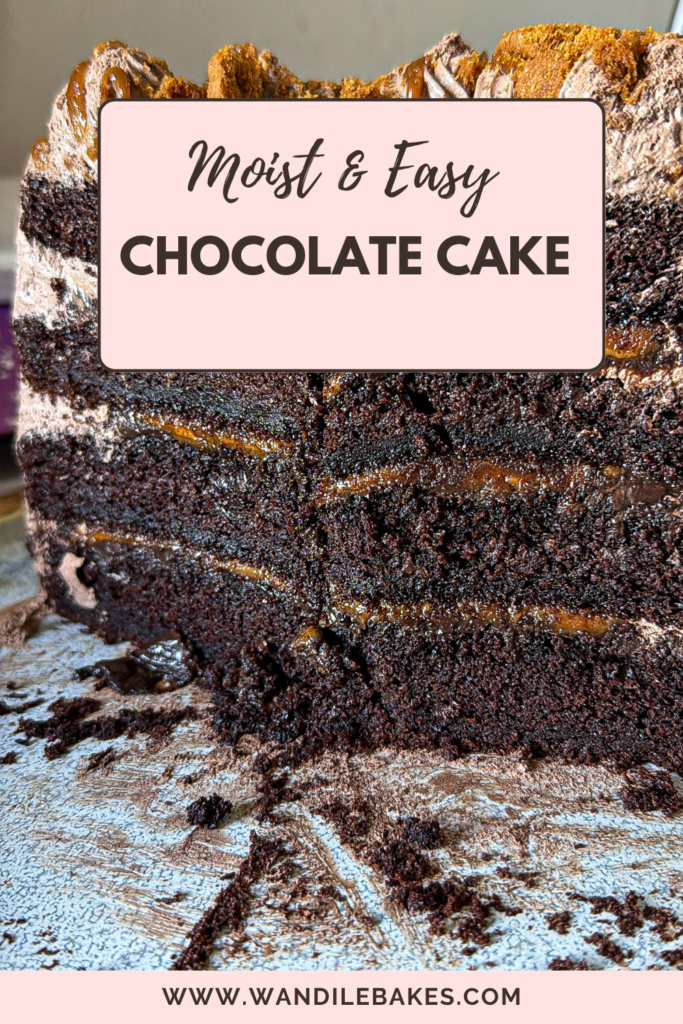
I love this recipe because it doesn’t rely on expensive ingredients., except for cocoa powder ha-ha!! The combination of buttermilk, oil, vinegar, and hot coffee creates a cake with a soft crumb and deep chocolate flavor.
Whether you’re baking for birthdays, celebrations, or simply because you’re craving chocolate cake, this recipe is worth keeping.
Looking for more baking inspiration? Follow me on Instagram (@wandilebakes) where I share behind-the-scenes baking videos, decorating ideas, and new recipes. You can also find step-by-step recipe videos on TikTok (@wandilebakes).
Why You’ll Love This Moist Chocolate Cake
- Easy to make with pantry ingredients.
- Soft and moist for several days.
- Rich chocolate flavor.
- Perfect for birthdays and celebration cakes.
- Pairs well with chocolate ganache, chocolate whipped cream, buttercream, or fresh berries.
Chocolate Cake Ingredients
Dry Ingredients
- 2 cups cake flour
- 1 cup cocoa powder
- 1 teaspoon baking powder
- 1½ teaspoons baking soda
- ½ teaspoon salt
- 1½ cups brown sugar (mix it together with wet ingredients though)
Wet Ingredients
- 1 cup canola oil
- 3 large eggs
- 1 tablespoon vanilla extract
- 1½ cups maas (buttermilk)
- 1 tablespoon white vinegar
- 1–2 cups hot coffee
How to bake Moist Chocolate Cake
- Preheat your oven to 160°C.
- Grease and line your cake tins.
- Whisk together all the dry ingredients.
- Add the oil, eggs, vanilla and buttermilk.
- Mix until combined.
- Stir in the vinegar.
- Slowly pour in the hot coffee while mixing.
- The batter will be thin. This is completely normal.
- Divide the batter between prepared cake tins.
- Bake until a skewer inserted in the center comes out clean.
- Allow the cakes to cool before decorating.
What Makes This Chocolate Cake Stand Out?
Many chocolate cake recipes use similar ingredients, but there are four ingredients that completely change the texture and flavor of this cake (you should never miss using them).
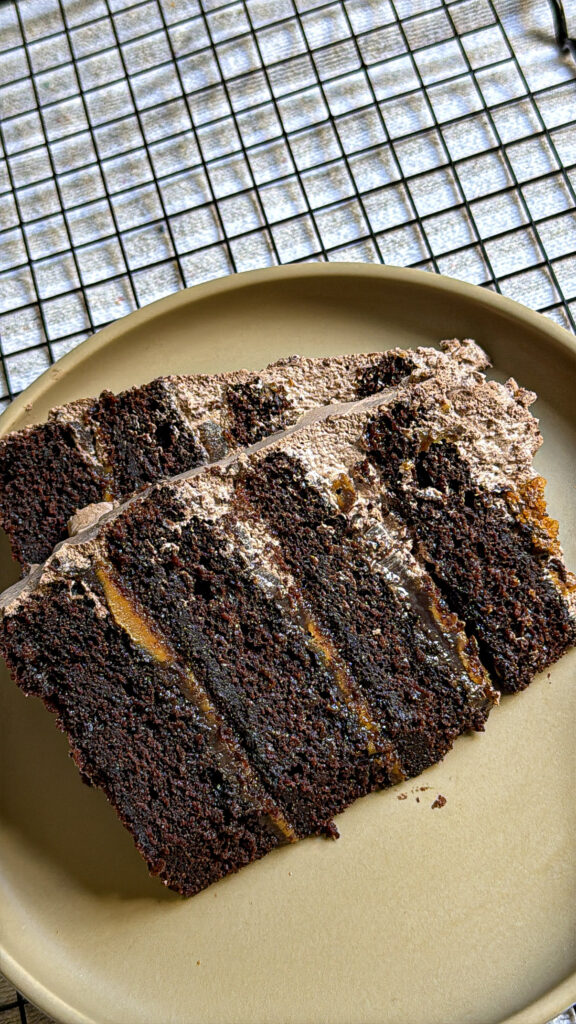
1. Buttermilk Instead of Milk
I almost always choose buttermilk (or maas) instead of regular milk.
Buttermilk adds acidity, which reacts with the baking soda to create a lighter crumb. It also gives the cake more moisture and keeps it soft for longer.
The slight tang also balances the sweetness and enhances the chocolate flavor without making the cake taste sour.
2. Oil Instead of Butter
Butter adds flavor, but oil creates moisture.
Using canola oil keeps this cake soft even after it has been refrigerated. Unlike butter, oil remains liquid at room temperature, which helps prevent the cake from becoming dry.
If you’ve ever noticed bakery chocolate cakes staying soft for days, oil is usually one of the reasons why.
3. Vinegar Isn’t Just There for Taste
Many people are surprised when they see vinegar in a cake recipe.
You won’t taste it.
The vinegar reacts with the baking soda to produce carbon dioxide, helping the cake rise while creating a lighter texture.
When combined with buttermilk, it gives the cake an even softer crumb.
4. Hot Coffee Brings Out the Chocolate Flavor
One of my favorite baking tricks is adding hot coffee to chocolate cake batter.
Coffee doesn’t make the cake taste like coffee.
Instead, it deepens the cocoa flavor and makes the chocolate taste richer.
If you’re serving this cake to someone who doesn’t drink coffee, don’t worry—they’ll most likely never know it’s there.
Why Is My Chocolate Cake Batter So Thin?
One of the most common questions I receive is:
“Did I do something wrong? My batter is very runny.”
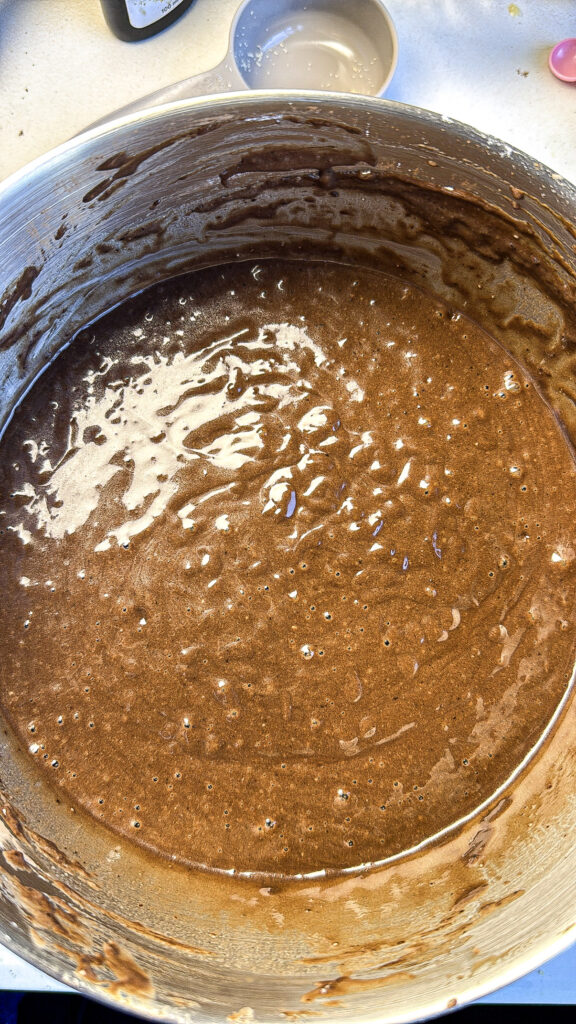
No.
This chocolate cake batter is supposed to be thin.
The hot coffee loosens the batter and allows the cocoa powder to bloom. Blooming cocoa means the hot liquid helps release more chocolate flavor before the cake even goes into the oven.
A thinner batter also creates steam while baking, resulting in a softer crumb.
A Few Things to Be Careful Of
- Make sure the coffee is hot but not boiling aggressively.
- Add the coffee slowly while mixing.
- Don’t panic if the batter looks much thinner than vanilla cake batter.
- Avoid adding extra flour because you think the batter is too runny. Doing so can make the finished cake dry.
Trust the process—the batter may look unusual, but the baked cake is worth it.
Baking Low and Slow for the Best Texture
One baking habit that has made a noticeable difference in my cakes is baking at a slightly lower temperature. Instead of using a high oven temperature, I prefer baking this chocolate cake at 160°C.
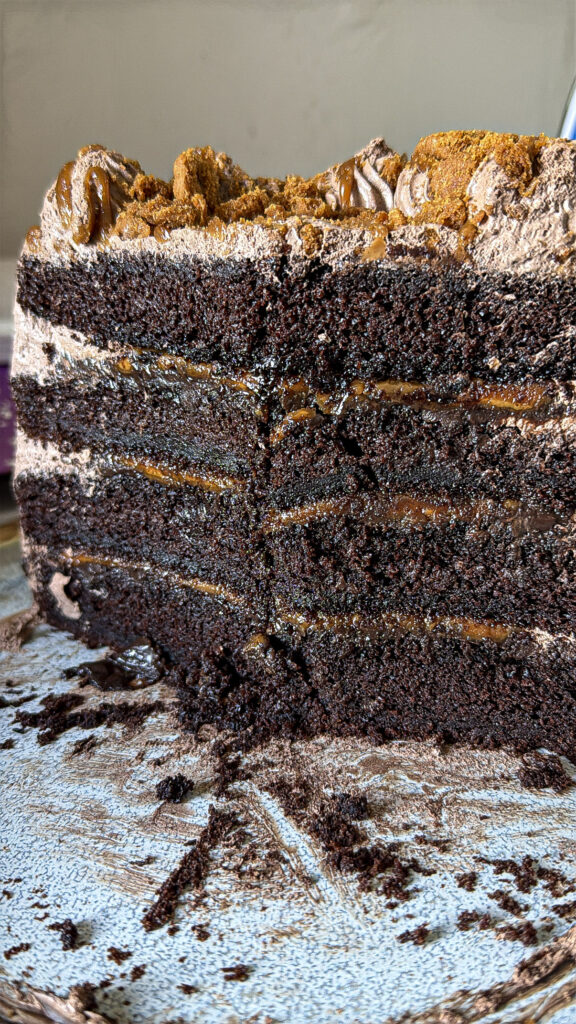
A lower baking temperature allows the cake to bake more evenly from the outside to the center. This helps prevent dry edges, reduces the chances of the cake doming too much, and gives the crumb more time to develop. The result is a cake that stays soft and moist.
Remember that every oven bakes differently, so start checking for doneness a few minutes before the recommended baking time. Insert a skewer into the center of the cake—if it comes out with just a few moist crumbs, your cake is ready.
My Secret for an Even More Moist Chocolate Cake
Once the cakes come out of the oven, I let them cool in the tins for about 5 minutes. After that, I remove them from the tins and I wrap them with a cling wrap to lock-in moisture.
After wrapping each layer, I leave them at room temperature overnight, or refrigerate them if I’m decorating the next day.
Wrapping the cake traps the moisture inside instead of allowing it to escape into the air. By the next day, the cake is even softer, making it easier to level, fill, and frost without excessive crumbs.
This simple step has become part of my baking routine, especially when I’m making dessert cakes. If you’ve never tried wrapping your cake layers after they’ve cooled, I highly recommend it.
My Simple Chocolate Filling
Sometimes baking teaches you that you don’t always have every ingredient available.
Recently, I wanted to make a chocolate filling but didn’t have fresh cream on hand.
Instead, I combined:
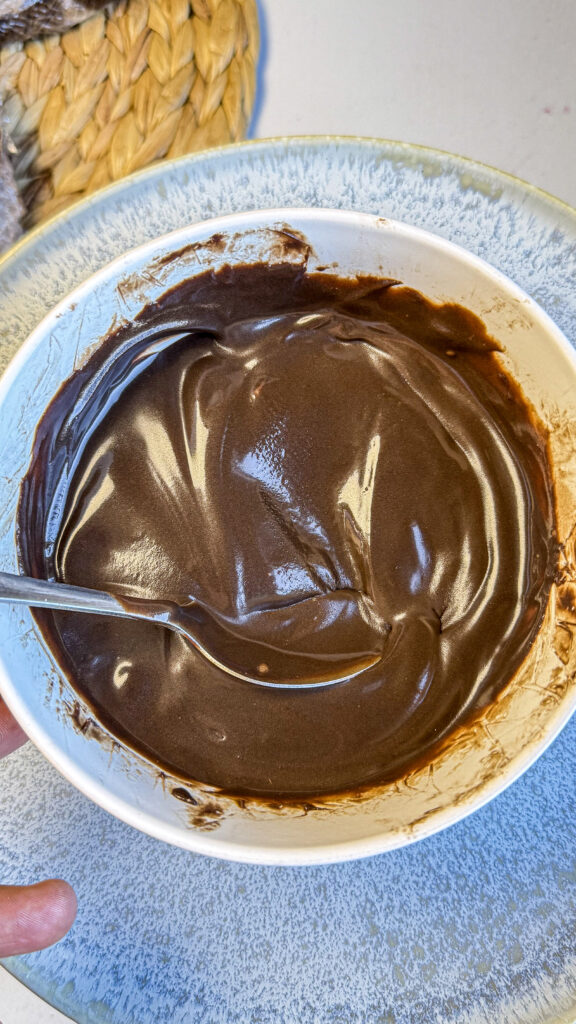
- 250g dark chocolate
- ½ cup milk
- 2 tablespoons butter
I microwaved everything together in short intervals, stirring until smooth.
The result was a rich chocolate filling that worked well between the cake layers.
Would I use it again?
Yes, especially when I need something quick.
However, for the smoothest and most stable chocolate filling, I still recommend using fresh cream instead of milk. Fresh cream produces a silkier ganache with a more luxurious texture and better consistency for layered cakes.
That said, baking teaches you to be creative. Sometimes you work with what you have, and you discover techniques that still produce great results.
Decorating Ideas
This cake pairs well with:
- Chocolate whipped cream
- Chocolate buttercream
- Chocolate ganache
- Fresh berries
- Chocolate curls
- Chocolate sprinkles
More Chocolate Recipes You’ll Love
If you enjoy this recipe, don’t miss my Chocolate Sheet Cake Recipe. It’s another easy chocolate cake that’s perfect for birthdays, or family gatherings.
You’ll find even more baking recipes, decorating ideas, and baking tips throughout my website.
Chocolate Cake Frequently Asked Questions
Yes.
You can replace the coffee with hot water. The cake will still be moist, although the chocolate flavor won’t be quite as deep.
Yes.
Mix 1½ cups milk with 1½ tablespoons vinegar or lemon juice and let it sit for about 10 minutes before using.
A cake can sink if:
The oven door was opened too early.
Too much baking soda or baking powder was used.
The cake was underbaked.
The batter was overmixed after adding the flour.
Yes.
Bake the cupcakes at 160°C for approximately 18–22 minutes, depending on your oven.
Store it in an airtight container.
It will stay fresh for several days at room temperature if your kitchen is cool, or refrigerate if it has a cream-based filling.
If you stayed until the end, THANK YOU!
This moist chocolate cake has become one of my favorite recipes because it consistently delivers a soft crumb and rich chocolate flavor using ingredients that are easy to find.
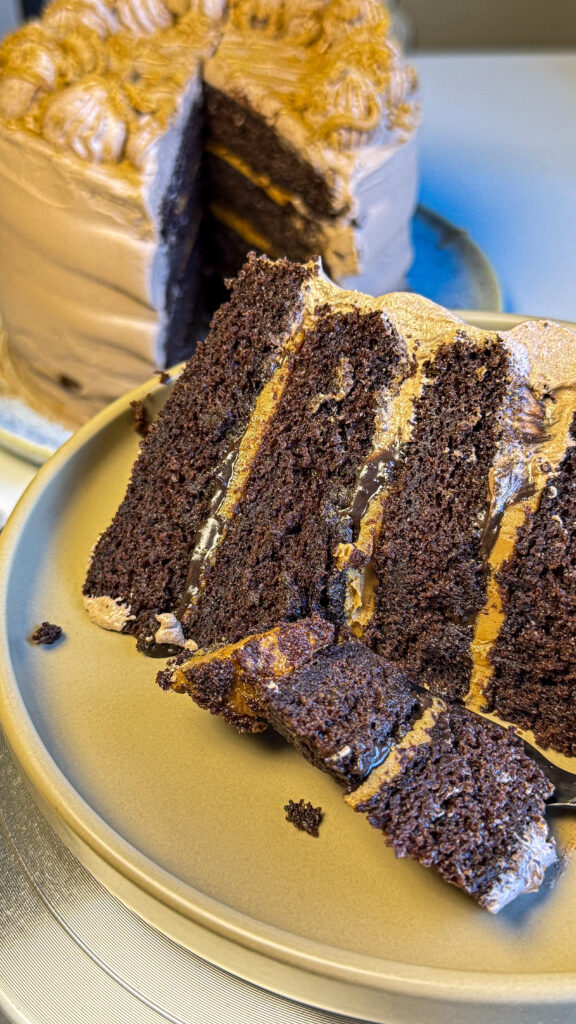
I don’t always have every ingredient in my kitchen, and that’s okay. Baking has taught me that there are times when you compromise, learn new techniques, and still end up with a cake you’re proud to serve.
If you bake this recipe, I’d love to see it.
Tag me on Instagram (@wandilebakes) or TikTok (@wandilebakes) so I can share your creations with the WandileBakes community.
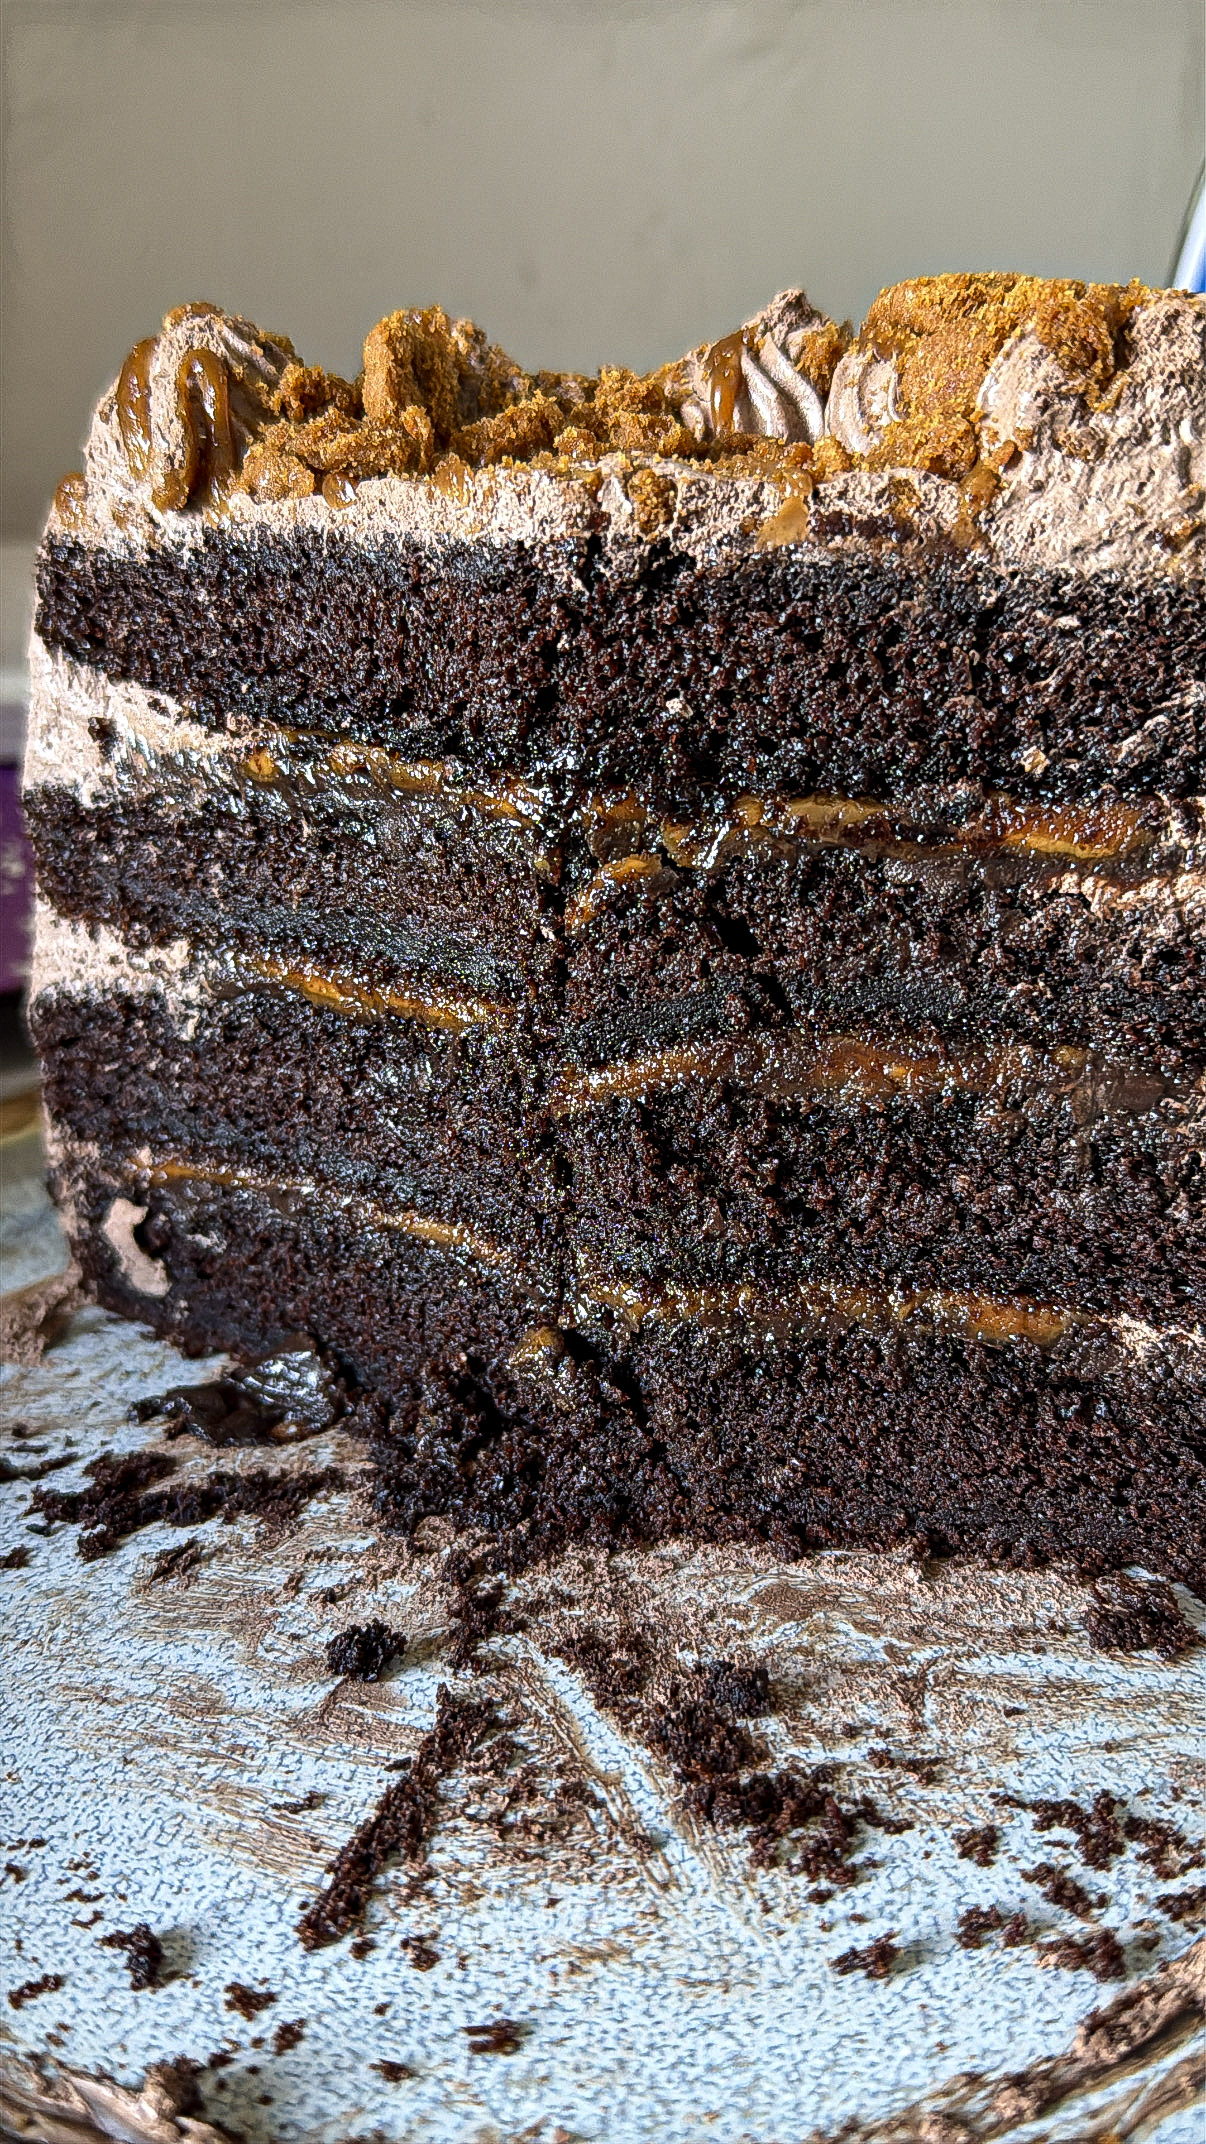

Moist Chocolate Cake Recipe with Biscoff Filling
Ingredients
Equipment
Method
- Preheat the oven to 160°C and grease and line your cake tins.
- In a large bowl, whisk together the cake flour, cocoa powder, baking powder, baking soda, and salt.
- Add the brown sugar, canola oil, eggs, vanilla extract, and buttermilk. Mix until combined.
- Stir in the white vinegar.
- Slowly pour in the hot coffee while mixing. The batter will be thin.
- Divide the batter evenly between the prepared cake tins.
- Bake until a skewer inserted into the center comes out clean.
- Allow the cakes to cool in the tins for 5–10 minutes, then remove.
- Wrap each cooled cake layer tightly in cling wrap and leave overnight or refrigerate before decorating for an even moister cake.
- Add the cold whipping cream, icing sugar, cocoa powder, and vanilla extract to a large mixing bowl.
- Beat until stiff peaks form.
- Avoid overmixing to keep the frosting smooth and light
- Microwave the Biscoff spread for 30 seconds until smooth and pourable.
- Allow it to cool slightly before spreading it between the cake layers.
- Place the chopped dark chocolate, milk, and butter in a microwave-safe bowl.
- Microwave in 30-second intervals, stirring well after each interval, until the chocolate has completely melted and the mixture is smooth.
- Allow the filling to cool for 15–20 minutes, stirring occasionally. As it cools, it will thicken to a spreadable consistency.
- You can cover it with a cling wrap and let it sit in a fridge before using it.
- Spread an even layer between the cake layers before adding the frosting.
Discover more from WandileBakes
Subscribe to get the latest posts sent to your email.